How To Make Your Own Natural Face and Body Cream

rose creamsThese are the notes from one of the workshops I regularly run, with instruction on how to make your own completely natural face & body cream, with out chemical emulsifiers or preservatives. Please ask any questions as these notes are designed to go with a practical session, but they should be clear enough for you to re-create your own version of this yummy cream yourself…

Introduction – During the workshop we will go through the process together of making your own completely  organic, natural face and body cream, without using any chemicals, emulsifiers or preservatives.

cream 3

When the cream is ready, and you have your own pot to take away, you can choose to mix in essential oils or not, and if so, you can choose one or a few different essential oils to mix in, and a blend strength that suits its intended use (up to 1% for the face, and up to 5% for the body). See blend strength chart in my previous blog for more details.

If you decide to make your own cream after the workshop, then you can follow the recipe used, but you may like to vary the ingredients a little according to your skin type, or to get a specific effect.

Just be aware that you need to keep the ratios of different types of products the same -so keep the amount of water, oil, butter and wax products used the same.  There is room for a little variation here, you just need to be aware that if you use more water products, the cream will have a thinner consistency, and if you use more solids then it will be thicker in consistency, so you can tailor this to your desire too.

The recipe we will use is for a simple cream involving no chemical emulsifier.  Most cosmetic creams will use an emulsifier of some kind -usually emulsifying wax.  This is because to make a cream, you need to mix oil and water together, two substances that don’t like to mix with each other.  An emulsifier kind of thickens the two and makes them like each other.  They are made from chemicals, and cannot be natural or organic. So this recipe is a little tricky, as it involves mixing the ingredients carefully so they don’t split.  But, with patience and care, it is possible (it is in fact similar to how mayonnaise is made).  You will need to use a fairly good blender, whereas with an emulsifying wax you can usually just whisk the ingredients. The recipe does include beeswax, and this has some naturally emulsifying properties which helps the process.

Ingredients:

  • 200g Floral Waters/ Herbal Infusions –  or blend of both.
  • 70g Butters/ Wax – I like to use 35g of Shea Butter & 35g of Coconut Oil.
  • 130g Base/Carier/Vegetable Oil – I use a blend of different oils including Olive, Apricot, Avocado, Macadamia, Rosehip (see my range of carrier oils for inspiration).
  • 10g beeswax

Optional Extras

  • Aloe vera gel or Aloe vera water –include this with the water ingredients (50ml aloe, 150 floral water).
  • 5ml vitamin E
  • Essential Oils: 0.1 – 2% blend strength for face creams and 1 – 5% blend strength for body (see blend strength chart in my blending blog for more details). For this recipe 1ml (20 drops) of essential oils would be approximately 0.25% blend strength which is usually enough.

About the ingredients:

Waters:

The water part of the cream is the problem area, when a product contains water it means it is prone to growing bacteria, as water contains oxygen, and bacteria thrive in this environment. Don’t use water from a tap, buy bottled spring water or try the following:

Floral waters

There are a few versions of floral water, you can often purchase the water that is produced during distillation of an essential oil, this is known as the by-product, but in the workshop we use a rose water that is distilled from organic roses in the Bulgarian rose valley, and the process is carried out for the sole purpose of making rose water (rather than a by product of making essential oil). This gives a much stronger scent and longer shelf life. The copper still makes a much better quality product than the more commonly used stainless steel stills. This Rose water is available to buy from my webshop. You can also use a handmade version, which is spring water mixed with an essential oil, left for a week or 2 and shaken intermittently, and then filtered.  Floral waters are similar in action to essential oils but much gentler and can be applied directly to the skin, they really enhance the cream and because they have natural anti-bacterial properties, they help to protect the cream from going off.

Infusions

An infusion is just like making a cup of herbal tea (a proper cup of herbal tea that is not made from a dried up old bag of dust).  You place your choice of herbs in a tea pot (or cup) and pour boiling water over the herbs (make sure the water is ‘spring water’ and not from the tap to avoid contaminating the cream).  One heaped teaspoon (double the amount if using fresh material rather than dried) to 175ml of water is a standard therapeutic infusion. If using a cup, make sure you cover it to keep the volatile oils from escaping with the steam. Leave to steep for 10 minutes, and strain before use (any little bits of plant material will contaminate the cream so ensure it is fine strainer).

Oils:

Carrier Oils (base oils)

These are cold pressed from the fruit nut or seed of a plant, for example olive (fruit), almond (nut) or sunflower (seed).  Make sure you use good quality organic oil that has not been refined, as the refinement process will have destroyed many of the nutritious qualities of the oil. However, you might choose to use a refined oil if the smell is not to your taste, they can be quite strong for example coconut or avocado.

These are some of my favourite base oils to use on the face:

  • Avocado ~ rich, nourishing, hydrating.
  • Rosehip ~ one of the best base oils for helping scars to heal.
  • Apricot ~ gentle & suitable for all skin types.
  • Macadamia ~ rich, nourishing –has a gorgeous nutty scent.

Macerated oils

An infused oil is carrier oil that has been ‘infused’ with the qualities of a herb or flower for example marigold/calendula or St. Johns wort. Generally the plant material is immersed into a carrier oil e.g. olive or almond oil, and either left in a warm dark cupboard over a period of weeks, or heated gently in a bain-marie for a couple of hours.  The oil absorbs many of the plants properties and the leached plant material is strained out of the oil through muslin cloth after 2-3 weeks.

Butters

Again, these have been cold pressed from part of the plant, and include Cocoa, Coconut, Mango, and Shea.  They are solid at room temperature, and bring a creamy effect to the product and have a nourishing effect on the skin, usually high in vitamins and fatty acids.

Beeswax

This is what helps the cream to emulsify, try to find a good quality and trustworthy source.  It is also an emollient, very soothing and protecting for the skin. If you are vegan and want to avoid beeswax you could try coconut wax or candelilla wax.

Vitamin E – optional

This is a great natural preservative.

Essential oils – optional

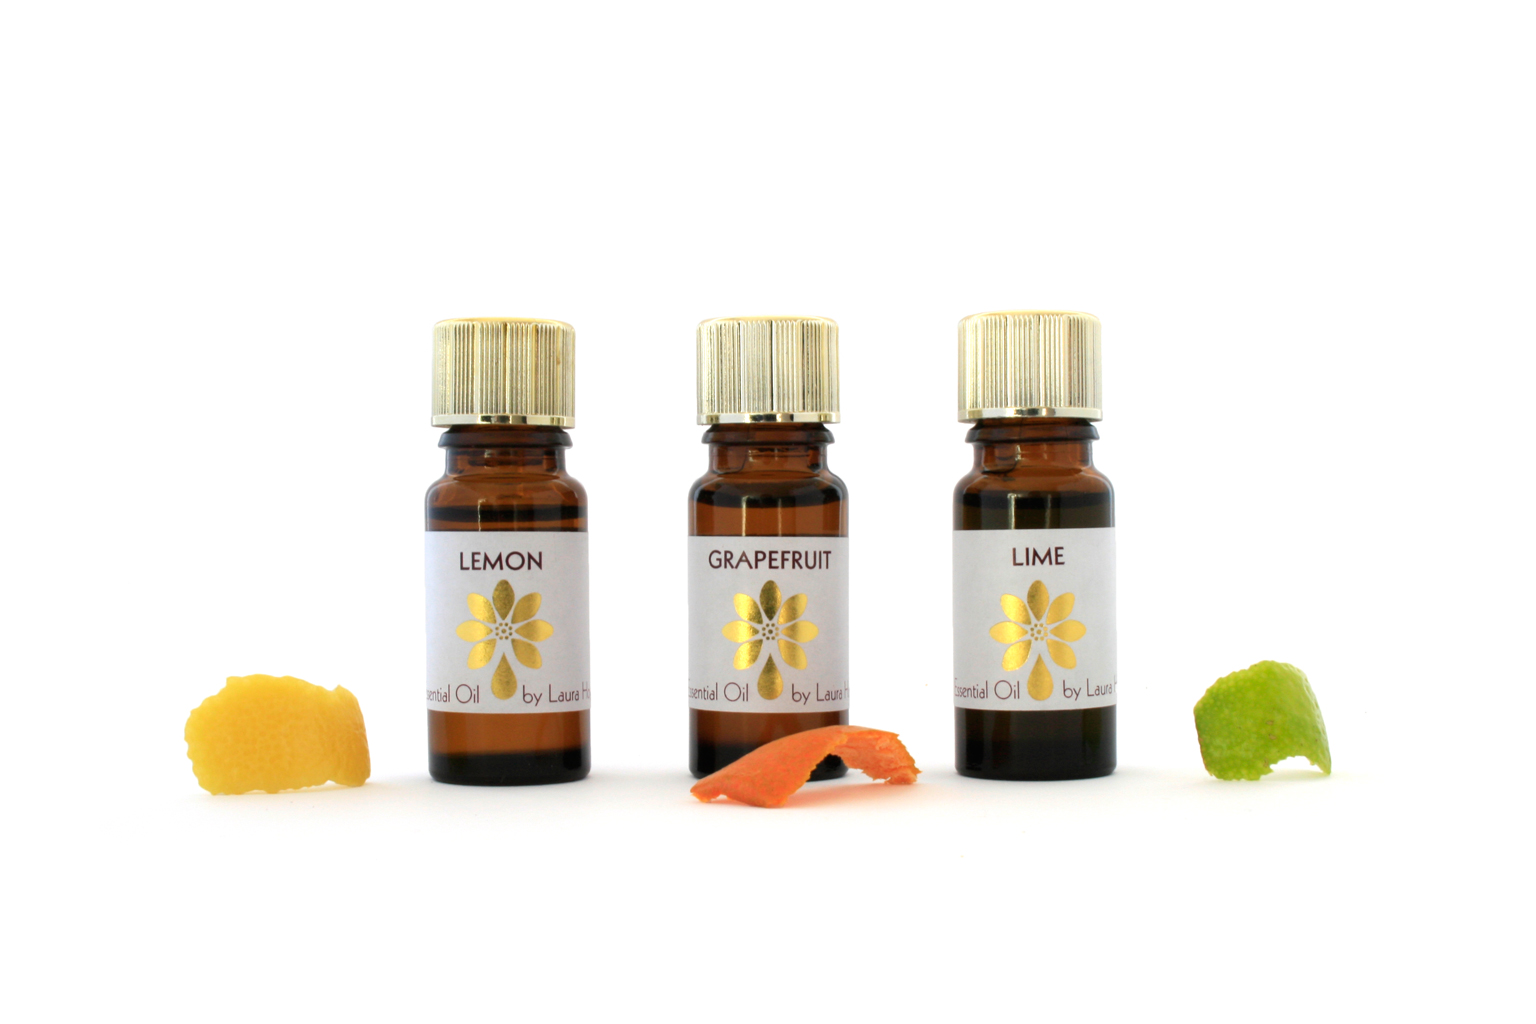
Essential oils are normally steam distilled from various parts of plants such as flower, leaves, fruit, roots and bark. With citrus oils it is usually just pressed from the peel, and for some delicate plant material (usually flowers and blossoms) will use a solvent to gently extract the oil.  They have a strong scent to them, so are a lovely way to personalise your blend, but also have very potent healing properties that affect the body on a physical level as well as the way we feel.  Even though the cream is complete on its own, the essential oils will bring another dimension to the effect and can also help to support the shelf life as they are naturally anti-bacterial to varying degrees.

These are some of my favourite essential oils to use on the face:

  • Rose ~ hydrating, nourishing and deeply nurturing.
  • Lavender ~ cleansing, clearing, gentle, antimicrobial (see my blog post on Lavender for more details).
  • Benzoin ~ protective.
  • Chamomile (Roman chamomile)~ soothing, calming, delicate, anti-inflammatory, anti-allergy, (see my blog post on chamomile for more details).
  • Myrrh ~ deeply healing, great for scars (avoid in pregnancy).
  • Mandarin ~ gentle, toning, light.
  • Geranium ~ balancing, feminine, supports hormones.
  • Neroli (orange blossom) ~ calming, gentle, soothing.

See my webshop for more essential oils that you may like to use.

Equipment

  • Scales
  • Bain marie/ double boiler
  • Measuring jug
  • A decent blender
  • Spatula
  • Pots or containers for finished product -make sure they are cleaned and sterilised by rinsing with some boiling water, and completely dry.

Instructions

Prepare the ingredient first, measure and weigh the amounts so they are ready to add in at the appropriate moment.

Melt all the solid oil base products by gently heating them in a bain marie or double boiler.  Then add the liquid oil products to this, you may need to heat it through a little more, as the cool liquids can cause the mixture to begin solidifying again.

buttery blending

When they are completely melted pour this mixture into a blender and let it cool down for a few minutes.  The melted mixture should become a little opaque in colour, but not to the point that it is beginning to solidify, see it has a buttery appearance.

Milky blending

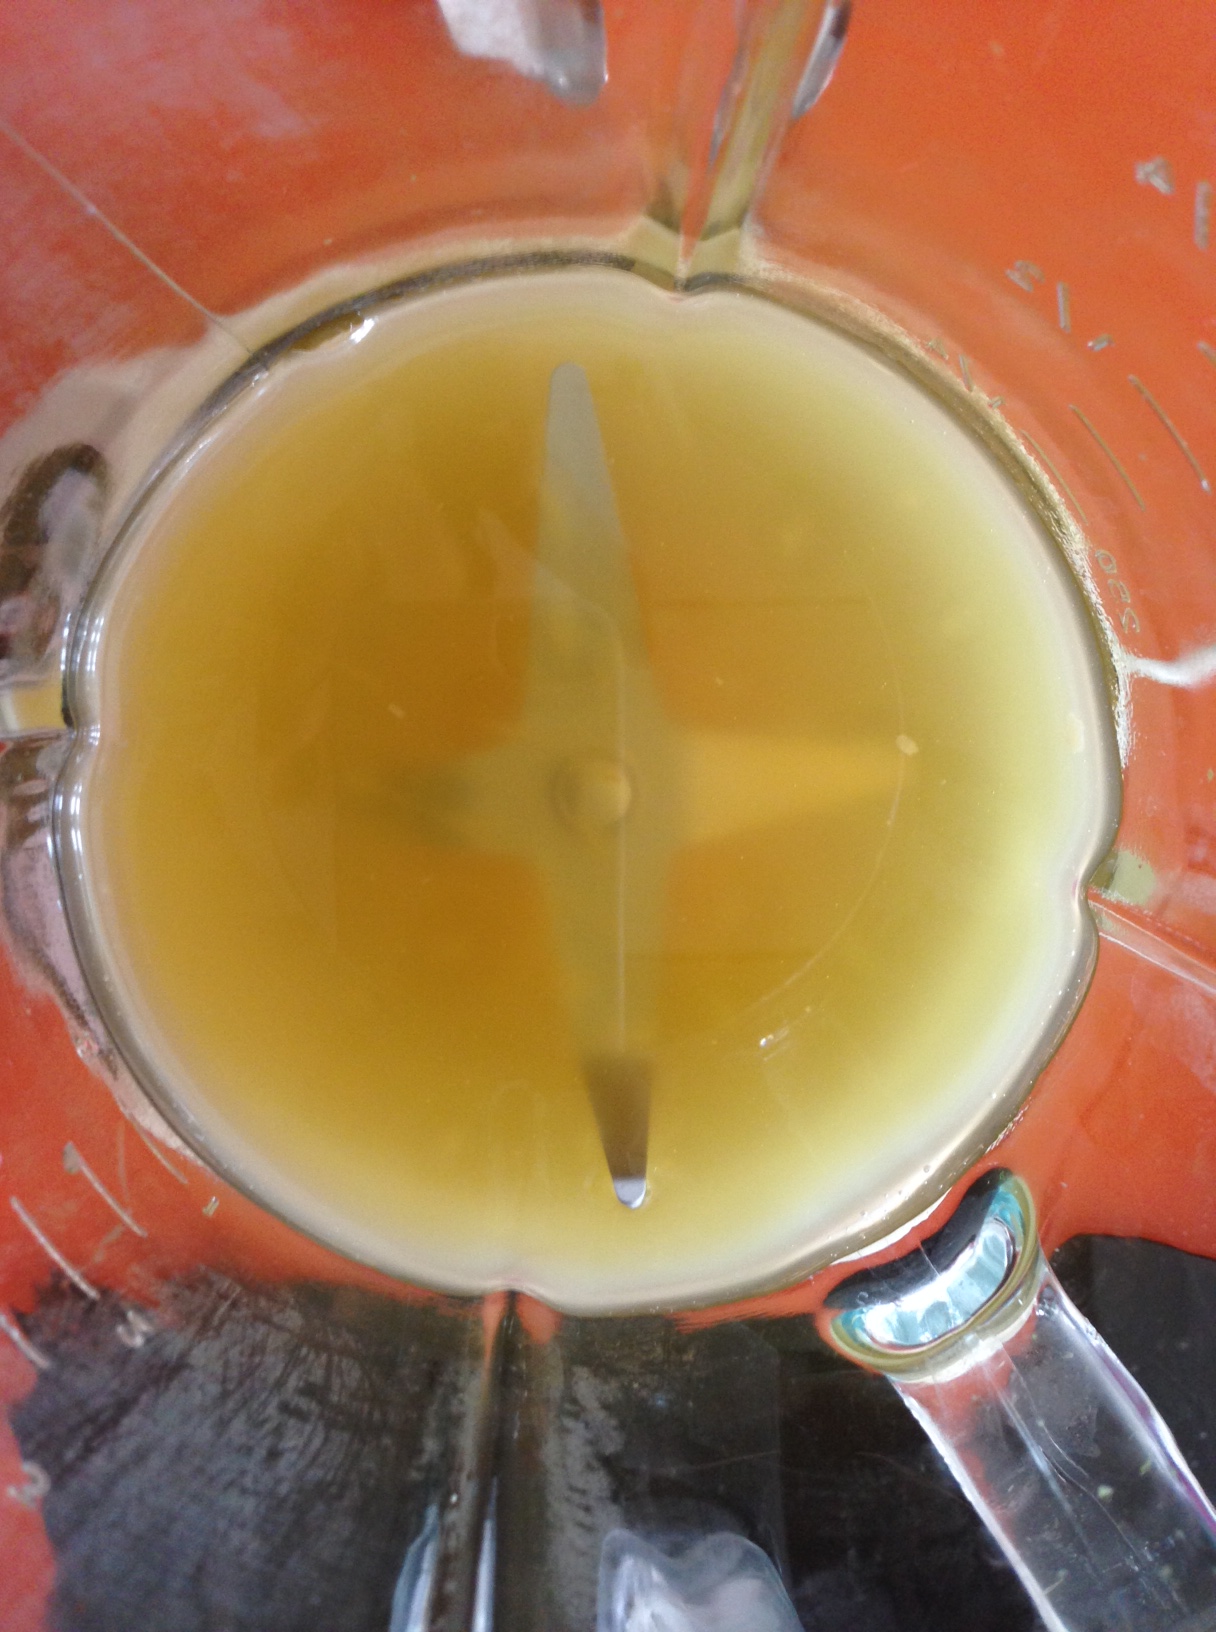
Put the blender on a low setting and add just a little of the water based products at a time. You will see it become milky in appearance:


Creamed

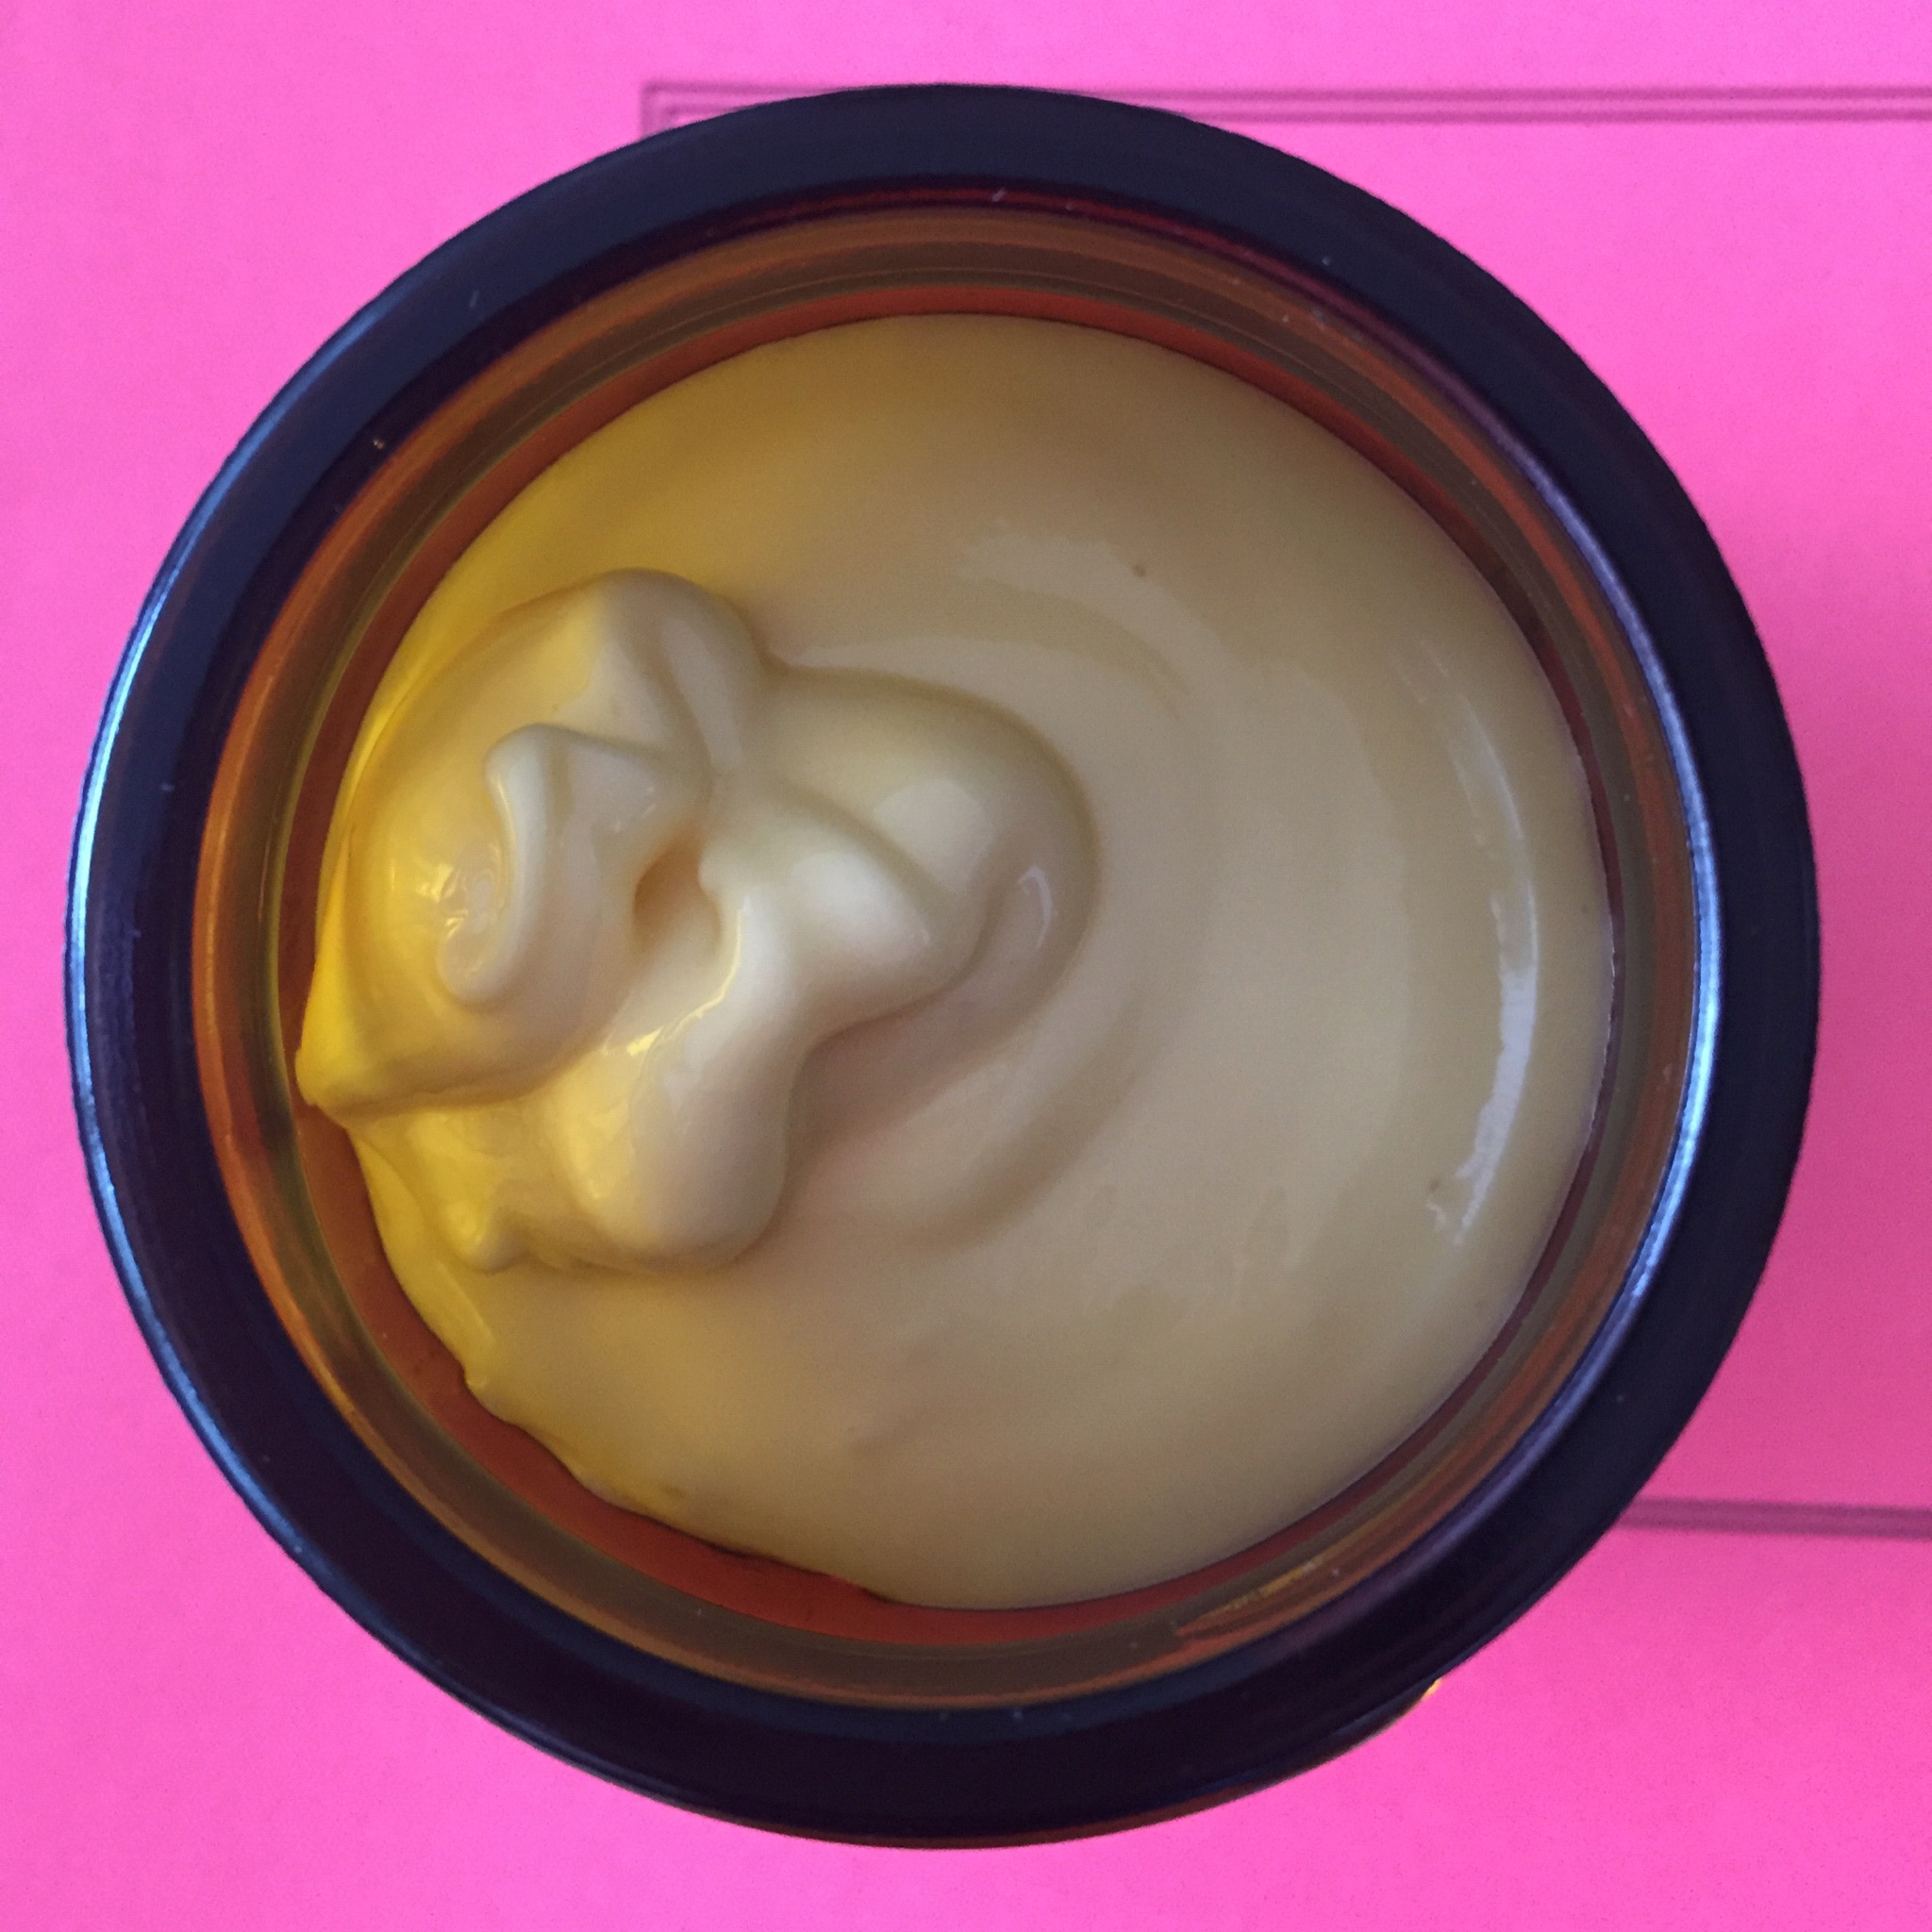
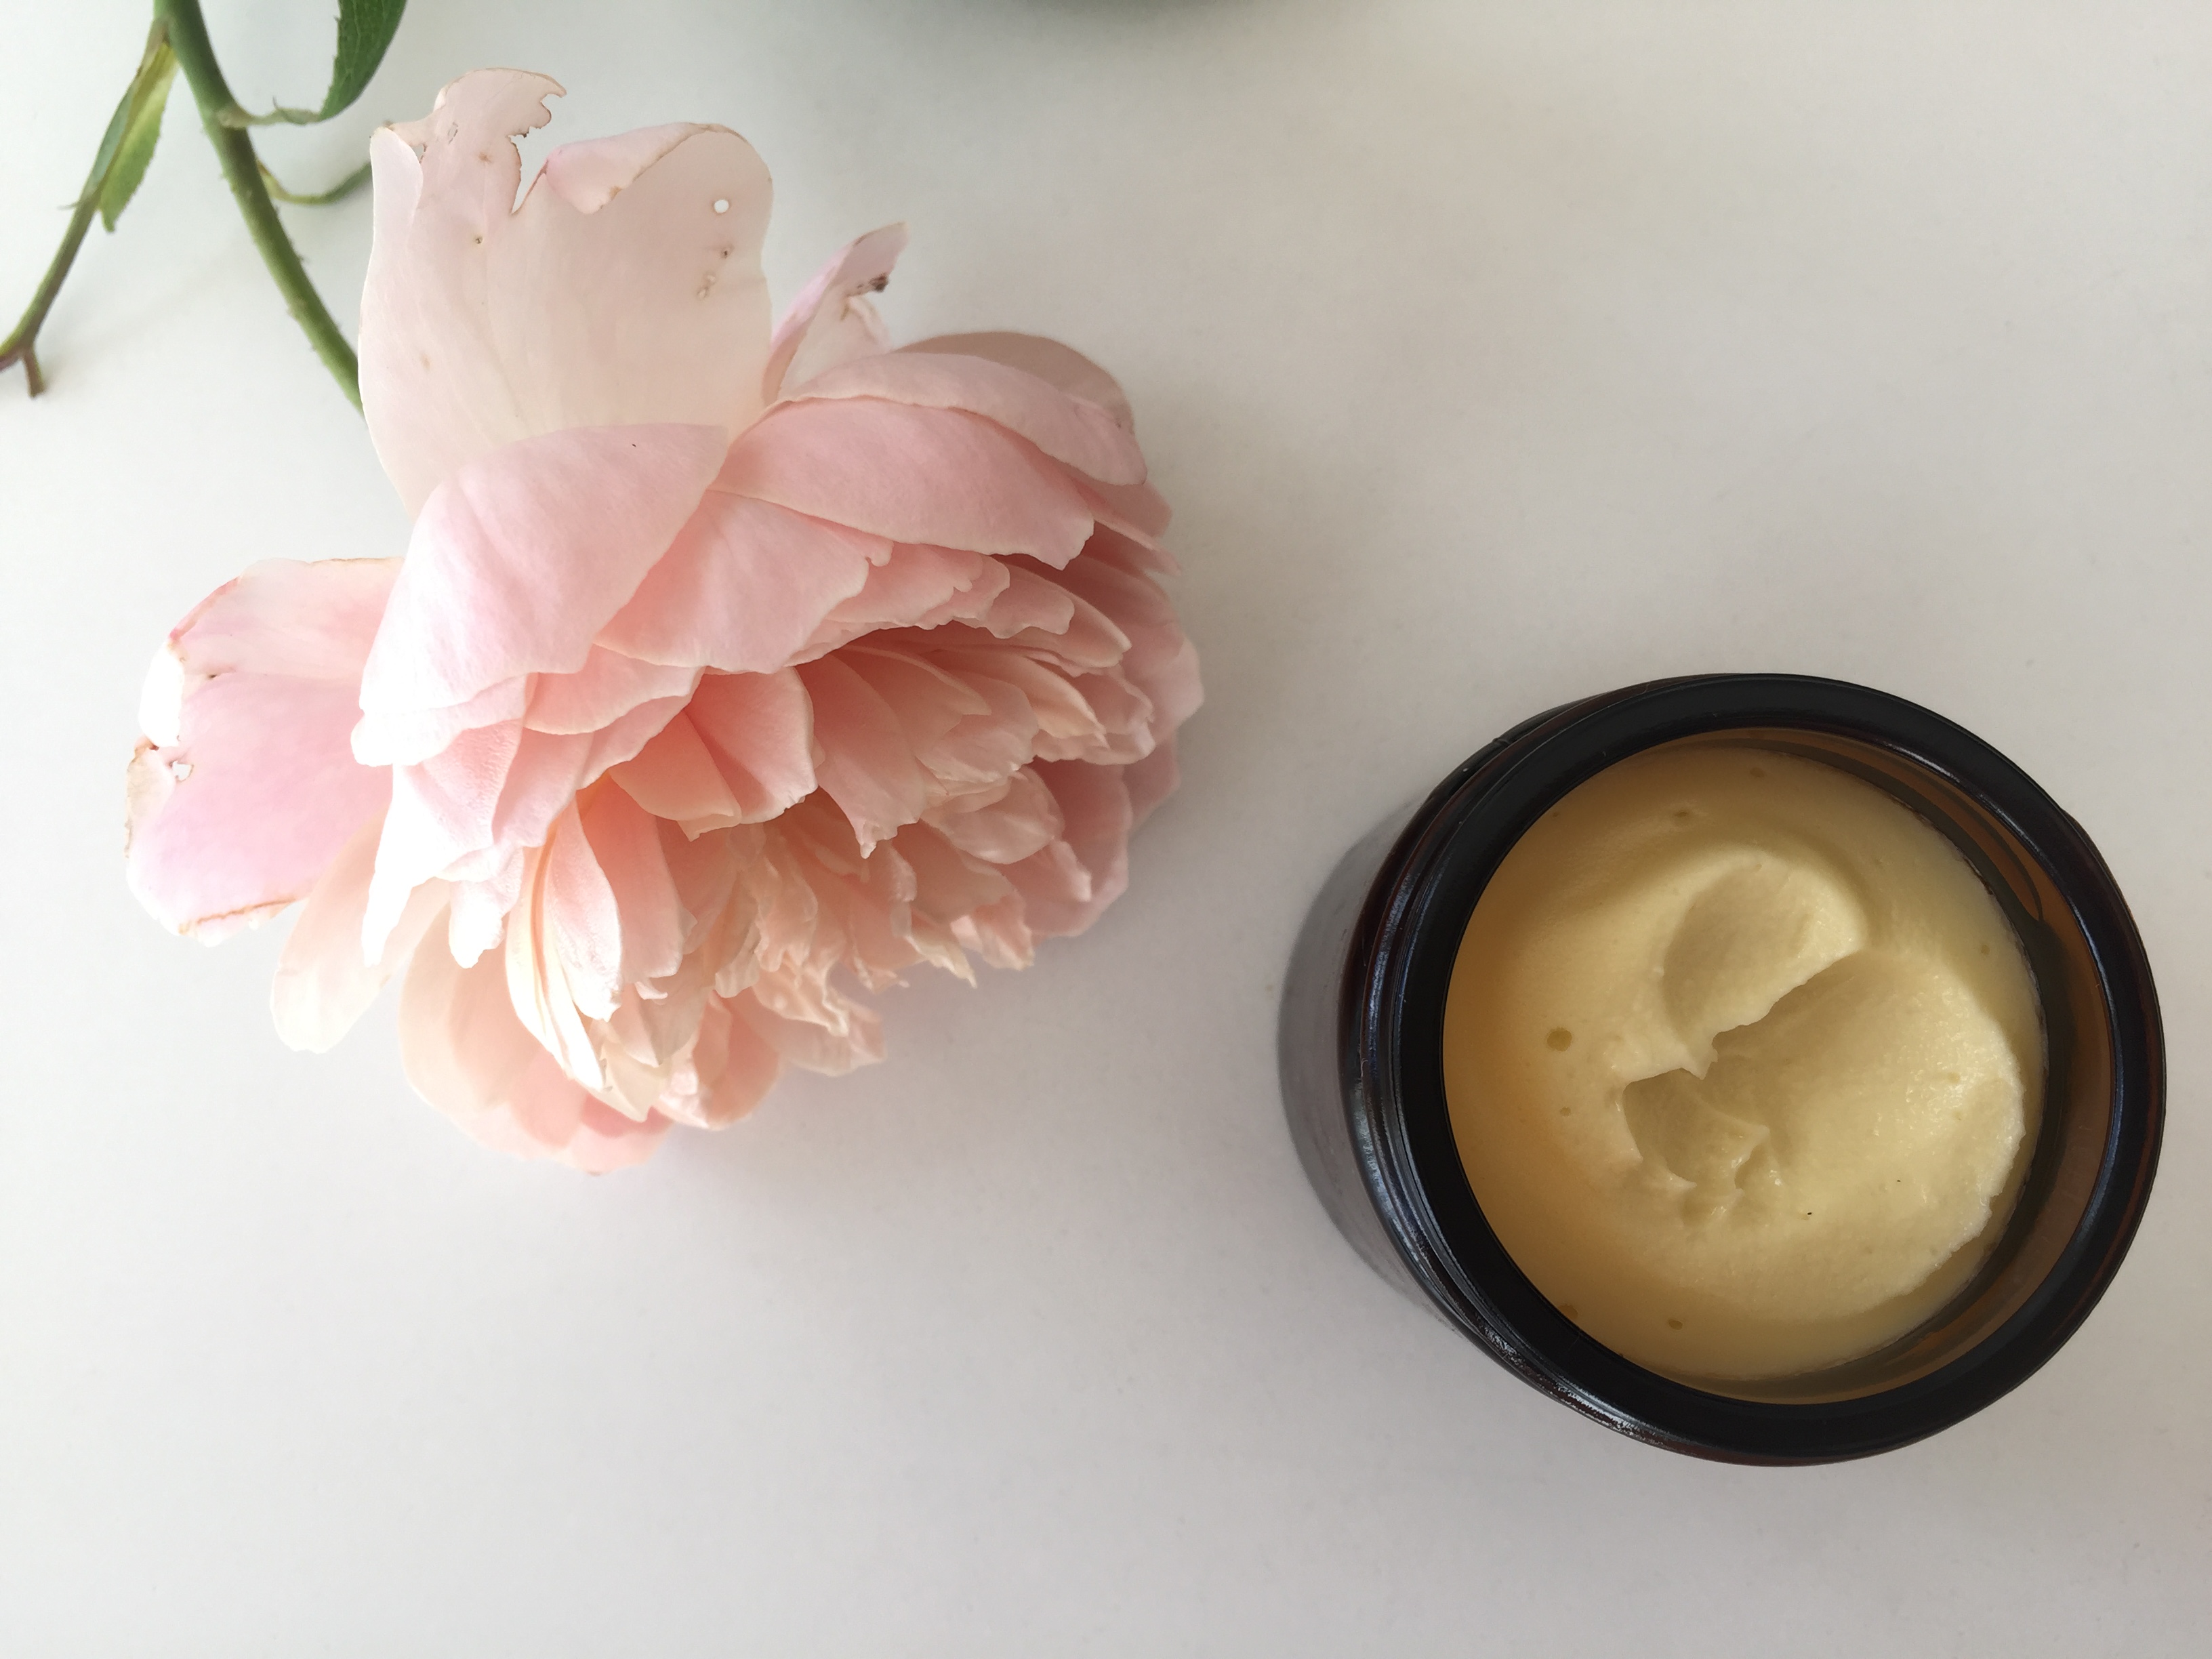
…and eventually thickens to a cream:

Take your time when adding the water and blending, as adding too much water initially will make it difficult to emulsify and it will be more likely to split.  If the cream splatters up the sides of the blender, use the spatula to get all the mixture in the bottom each time you add more water, so the entire mixture is evenly blended.

pot of cream

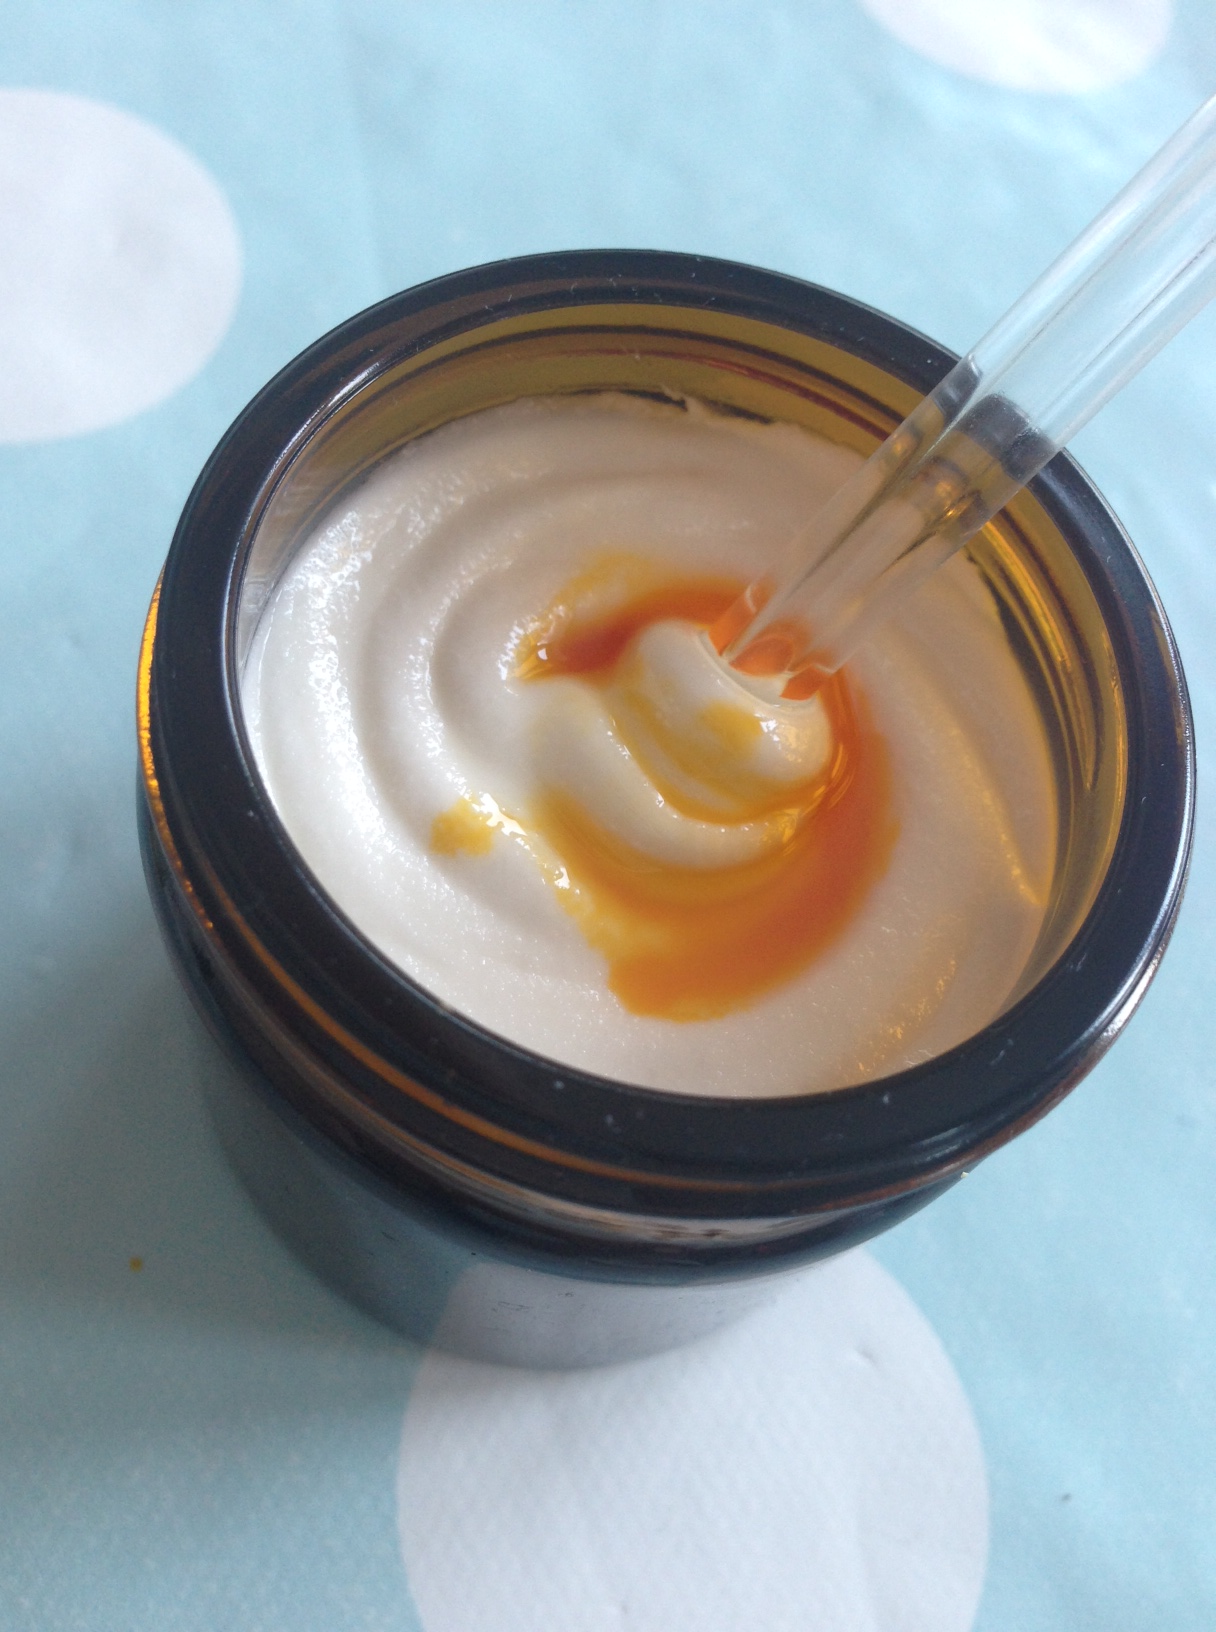
If you decide to add Vitamin E and essential oils to the cream, do this at the very end as you do not want to expose them to heat.  Pour the mixture into some little pots or jars.  Ensure they are clean and dry –I usually pour some boiling water into them to sterilize them first and then dry them.  Pour the cream as soon as it’s ready, as it will become thicker as it cools, and more difficult to get out.

As in the workshop, you can add essential oils at this point too–if you have several containers and you want to create different blends for each one, then it’s ideal.  I find it quite practical to use a chop stick to stir them through.

Shelf Life

Because this cream is very natural and does not contain chemicals or preservatives, it is likely to only last 2-3months.  I would recommend keeping it in a cool dark cupboard or in the fridge if you can.  It will usually only go off if it becomes contaminated somehow and this can often be due to bacteria in the water based ingredients.  Make sure you don’t use any water from the tap if making an infusion, use spring water. Ensure all equipment being used is sterilised.

Using your cream

Having made the cream from scratch, and knowing all the wonderful ingredients that go into it, it can help me to be a little more focused on my skin care routine, to be more appreciative of this time with myself.  It’s particularly lovely to massage gently around the jaw, and to take this time to let go of any tension held in this area.  In doing this I become more aware of the tension held in other areas in the face –including cheeks and eyes!  I also use the cream on my neck across the top of my chest, massaging just under the collar bones which delicately allows me to become more open around the chest area, I can feel the difference in my whole body especially my posture, when I do this. Basically, just enjoy and appreciate using it on any part of your body.

Here are some ingredient variations for inspiration when designing your own versions:

Rich, hydrating and nourishing, for dry and mature skin

  • Rose floral water
  • Avocado, macadamia
  • Coconut, shea
  • Rose, frankincense, myrrh

Gentle and soothing, for sensitive skin

  • Neroli floral water, chamomile infusion
  • Apricot, camellia oil
  • Coconut
  • Neroli, Chamomile, Mandarin

Eczema, delicate itchy and damaged skin

  • Lavender floral water, chamomile infusion
  • Evening Primrose, starflower/borage oil
  • Coconut oil, shea butter
  • Chamomile, lavender, benzoin

Light and balancing for young, oily, combination skin

  • Geranium floral water
  • Grape seed, apricot oil
  • Coconut oil, shea butter
  • Geranium, lemon

Creams for Sale: I make versions of these natural face and body creams at regular intervals, so if you would like to buy one CLICK HERE to view the bespoke products on the webshop. Feel free to request specific ingredients, or preferred effects (eg. very hydrating or very gentle) as I am more than happy to design it to your requirements.

How to use Lavender and Chamomile Essential Oils for Hay fever

white lavender
I had a lovely email from a friend last week who was inspired by a previous blog (‘Lavender, Essential First Aid) to use lavender essential oil when suffering symptoms of hay fever.  I asked if I could post it here since it was so timely for me, as I’m sure it will be for others, so thank you Catherine Jones for sharing your experience.
‘I felt to share how lavender oil is helping me right now, as it has taken me by surprise.  I have hay fever, and so have very itchy eyes, an itchy & runny nose, and my face is generally congested and reactive all over. I don’t have any drugs yet, and last night I felt to try dabbing some cool wet cotton wool on my eyes to calm them down. I added a drop or so of lavender oil, and it made such a difference. I used it a few hours ago, pretty much all over my face, but paying attention to the area around my eyes, and across my cheeks, and down the gall bladder lines from nose to chin. It was amazing. I often use lavender in things, but it had never occurred to me that it might ease an allergy. Right now I am not sneezing, nor itching, and I am breathing freely. ‘
Chamomile
Her message inspired me, as I was experiencing similar symptoms at the time, and I have since tried the same technique using roman chamomile essential oil, as it is specifically good for allergies and particulary soothing and calming.  For more details on chamomile essential oil see ‘Soothing Chamomile for Skin Conditions’.

A Basic Introduction on How to Use Essential Oils Safely

I have learnt far more by experimenting and actually using essential oils myself rather than from books, but there is still a lot of important information to know that will help you understand and get more of a feel for how to use them.

What are essential oils?

Essential oils are naturally produced by many plants and can be found in their seeds (coriander & fennel), fruits (mandarin & lime), flowers (rose & orange blossom/neroli), leaves (basil & geranium), woods (cedar wood & sandalwood) roots (ginger & angelica) and resin (frankincense & myrrh).  The essential oil is extracted from the plant material, usually by a process called ‘Steam Distillation’ which involves passing steam through the plant material to release and capture the essential oil molecules (more intricate details will appear in a future post).

There is another method, mainly used with citrus oils, called ‘expression’, where the oil is literally just pressed from the peel of the fruit. You can actually release the oil yourself if you dig your finger nail into the peel of an orange or lemon, as you pierce the cells you will be able to see and smell the essential oil.  Make sure you use an ‘un-waxed’ fruit, the waxed kind have been sealed.

Citrus fruit peel yields a lot of oil compared to other parts of plants, but you can probably still imagine that it would take the peel of many oranges to make a little 10ml bottle of Orange Essential Oil.  This should also highlight how concentrated the oil is.  Some plants yield a very tiny amount of oil in comparison, for example, roses.  It takes around 1200 rose flowers (that’s flowers not petals!) to make just 1ml of rose essential oil, which equals around 40 drops of extremely precious oil!  This should go a little way to addressing the high price of rose oil and other delicate floral oils, which generally hold a very small amount of essential oil.

What are the effects of essential oils?

Hopefully, you now have a good sense of the potency of essential oils and perhaps an idea of how powerful their effects can be.  You may be aware of how they are widely used to help us relax, and used as ingredients in bath oils or room sprays and that they are found in many beauty products to help improve our skin, but there are many other ways they can help support us both on a physical level and on the way we feel. The fact that they have such strong scents can have very tangible, immediate effects on our bodies and our moods.  All essential oils I have come across have anti-microbial properties which make them particularly suitable for using to help treat illness and disease, and can have various effects on all systems in the body from the endocrine to the digestive system.

Handmade Ceramic Oil Burner by ‘Throw to Fire’.

How do you use essential oils safely?

Realising the potency of essential oils can also highlight why there are some safety precautions to observe and why it’s important to dilute them when using them on your skin.  In their neat form, they are way too strong for to use directly on the skin and  can cause tingling or burning sensations, and other reactions.  Diluting them in a vegetable oil is ideal as they themselves have many nourishing properties that your skin can also benefit from.  Generally they are full of vitamins and fatty acids that help keep skin healthy and vital.  They also help the essential oils absorb into your skin more easily.  Some other modes for diluting essential oils include honey, milk or aloe vera gel -water based products are not appropriate as the essential oils are hydrophobic (water-hating), and will not mix together.  You do not need to dilute essential oils when using them in a burner, diffusor or for inhalation (all methods to be covered in future posts). See my earlier blog post: Essential Oils in the Shower for details on using essential oils in a burner.

Always dilute essential oils before using them on your skin -including in the bath.

Various modes of application to the skin include:  massage, bath, compresses, skin care preparations such as creams or balms and neat application*.  They can also be used by inhalation (using diffusor, burner, steam inhalation or directly from a tissue) and they can also be used internally. The versatility and range of applications of the oils allows for your own personal input that means they can really support you in your life.  For example you can chose to give yourself a foot bath each night, (with a mix of peppermint essential oil and olive oil) when you get home from work because you have a job where you’re on your feet all day, and that’s what really supports you; or there may be a certain oil that helps calm your breath when feeling stressed or anxious, (e.g. frankincense, lavender or neroli essential oil) and you keep a little bottle in a your hand bag  to dot on a tissue and gently breath in for when you feel to use.  This is what i really love about the oils, that you can bring them into your daily, weekly or monthly routine to support you in so many different ways -all shared throughout this blog!

*Note: It is generally accepted that lavender and tea tree essential oils can be used neat on the skin. See my blog post on Lavender, Essential First Aid, for more details on using lavender or tea tree.

How to Make a Bath and Massage Oil Blend

I have come up with a few favourite bath and massage oil blends over the years and I like to make a bottle up so it is ready to use when I’m in the mood.

You can make your own blend up with the following instructions or use the recipes I have shared below:

100ml Bath & Massage Oil Blend Recipe

  • 100ml of your choice of vegetable oil (eg. almond, apricot, or simply olive oil from your kitchen!)
  • 40 drops or 2ml of your choice of essential oil/s
  • ~these can be one or a combination of oils, but keep the totals to 100ml for the vegetable oil and  2ml (40 drops) for the essential oil.

Directions: If the vegetable oil you have is in  a 100ml bottle, then you can simply add the essential oil(s) to this and give it a shake to disperse evenly.  You may need to pour a tiny amount of the vegetable oil out first to allow room for the essential oils.  If you have a larger container of vegetable oil you can either adjust the amount of essential oil you add (eg. double if you have a 200ml container), or measure out the 100ml in a kitchen measuring jug, add the essential oils and stir, and then pour into a 100ml bottle or container.  Ensure the container you use is completely dry, as if the oil blend mixes with any water it will go off.  You can usually buy empty bottles at chemists, department stores, or Muji in London, or you could try antique shops for some elegant glass containers.

Use: Add 1-2 tea-spoons in the bath (add just before you step in for maximum benefits).  See ‘Essential Oils in the Bath’ blog post for more on using your bath blend.

Turkish Delight Bath and Massage oil Blend ~ Nurturing, relaxing and refreshing.

  • 100ml Argan oil
  • Rose essential oil, 10 drops
  • Black Pepper essential oil, 10 drops
  • Cardamom essential oil, 10 drops
  • Sandalwood essential oil, 10

Vanilla Orange Bath and Massage oil Blend ~Soothes and eases tension, and great for the skin.

  • 100ml Almond oil
  • Benzoin oil, 20 drops (this is usually quite a thick oil so you will need to shake well for it to mix evenly)
  • Orange essential oil, 10 drops
  • Neroli 10 drops

Each recipe above gives you a blend strength of 2%, which is appropriate for most skin types.  I would recommend dropping this blend strength to 1% (20 drops/100ml) for children, elderly and those with  sensitive skin.

These blends should last for 12 to 18 months, but keep them in a cool dark place to ensure they stay fresh because the oils are sensitive to heat and light (so a bathroom cupboard would be suitable, but not a sunny windowsill or shelf above a radiator).

They can also be used as a massage oil directly on the skin, or for moisturising  after taking a shower, you should notice it makes it easier to apply the oil to slightly damp skin and you also seem to use less of it.

As I cover more of the properties and effects of different essential oils, you will develop more of an idea on how to mix a blend up for specific purposes, in the mean time, please feel free to ask any questions or advise on making your own blends.

Click here to for making Bath Salts.

Click here to choose Essential Oils for your bath.

How to Use Essential Oils in the Shower in a Burner or Diffusor

How to use essential oils in a burner & diffusor.

A couple of years ago I moved into a little studio and it only had a shower -no bath!  Since I do love a bath I made sure I had the odd treat at a friends house so I didn’t miss out on this luxury.  Anyway, one evening after work, I decided to take a shower which is unusual as my routine is always to do this in the morning, as it seems more refreshing rather than relaxing.  I went about it in a totally different way though, since I couldn’t incorporate the oils in the same way I would in the bath.  I got out my little ceramic burner:

Handmade Ceramic Oil Burner by ‘Throw to Fire’.

This is a simple device used to scent the atmosphere in a room with essential oils.  You put a tea-light in the bottom part, fill the top bowl area with water, and sprinkle essential oils of your choice into the water.  As the candle heats the water it warms the essential oils too and they release their molecules into the room, including the scent.  It’s useful to choose a burner that has quite a deep bowl for the water, because as it is heated by the tea light, the water evaporates and when there is no water left the essential oils can burn onto the surface making it difficult to clean.  Between 3 and 10 drops of essential oil should be enough in the burner, depending on the desired effect (blend inspirations below).  My bathroom was quite small so a few drops had a good impact on the room, but you can use more if you feel like it.

The tea-light in the burner already gives a little glow to the room, so I switched off the light and lit a few more candles, and it felt very special -I honestly had never taken a shower by candle light nor taken the time to prepare the room in this way.  It was a bit of a revelation to realise the difference it made to how I felt, and often became part of my night time and even morning time ritual.  It actually felt more nurturing than a bath at the time.

Choosing the oils to scent the room is a big part of the ritual, and I like to go with what ever I feel at the time, but here are some ideas to get you started but have a play yourself, as I notice that we all have different styles to blending so you will probably come up with something completely different but perfect for the moment, and if not, it’s all part of getting to know them and what you like.

Blends for your burner:

  • First thing in the morning: 4 drops of Eucalyptus, 2 drops of Peppermint, 4 drops of Lemon.
  • For winding down in the evening: 4 drops of Lavender, 6 drops of Mandarin.
  • Some thing in between: 4 drops of Geranium, 4 drops of Orange, 2 drops of Thyme.

You can just use one oil if you like or as many as you want…

Remember that inhaling the oils is the fastest way their molecules enter your body, so it is still a very effective method of using them.

Another very quick little trick for using the oils in the shower is to  take a bottle of essential oil in to the shower with you, and once the heat is up, and the steam is rising, simply sprinkle 3 or 4 drops onto the floor below, and you will experience a brief surge of oils as the steam releases the molecules upwards.  This trick works well with strong scented oils like eucalyptus or peppermint as they release their scent immediately, something like rose or myrrh would not be appropriate as they are slower to release and will dissappear down the plug hole before your nose knows it!

You could also use fresh eucalyptus leaves for a refreshing scent in the shower, pin a bunch above the shower head so the steam releases the smell and clears your respiratory system along the way.

How to Use Essential Oils in the Bath

Using essential oils in the bath can be a deeply relaxing and nurturing experience.  One important point to be aware of is that essential oils must be diluted before you add them. This is because they are very potent and can irritate the skin in their undiluted form.  I have heard many stories from clients who have sprinkled drops of essential oil straight into the bath and experienced anything from tingling sensations to nasty skin reactions and even left unable to use that particular oil again, due to developing sensitivity.  Even though you may be adding the drops of essential oil to an entire bath full of water, the drops do not actually mix with water (because they are hydrophobic), and will stay in droplets on the surface of the water, clinging to your skin as you enter, which is just like putting undiluted essential oil onto your skin.

To dilute the oil you must mix it with a carrier oil (a fatty oil pressed from a nut, kernel, seed or fruit, for example almond, apricot, sunflower or olive). A tea spoon of olive oil would work just fine (Click here for more carrier oil options).  To make it easier to prepare I often pour a tea spoon of olive oil into an egg cup add and then add the essential oils to this.  I would suggest adding between 3 and 6 drops of essential oil depending on the oils you use and how strong you want the scent/blend.  To start with, you could use 4 drops of lavender.  You can use more than one essential oil, but keep the total number of drops used between 3 and 6.  So you may like to mix 2 drops of Orange with your 2 drops of Lavender and perhaps a drop of Black Pepper (so 5 in total).  This would make a relaxing, warming bath blend, great for aches and pains at the end of the day. Give the mixture a little stir so the essential oils are evenly blended in the olive oil.

Now that your blend is ready – WAIT! – wait until the bath is run, the temperature is appropriate for you and everything else is prepared, towels warmed, candles lit etc. (how ever you like to set the scene).  Just before you’re ready to step in, pour the oil blend into the bath and give it a little swoosh to help it disperse, then step in, lay back and enjoy.  Adding them at this moment ensures you enjoy all the wonderful benefits of the oil especially the scent.  If you were to add them as you start running the water (as I would with bath bubbles) the heat and steam created would evaporate a lot of the essential oils and by the time you lay in the water there would be little left to appreciate.  After bathing notice how nourished your skin feels, just a tea spoon of oil manages to envelope your whole body leaving it soft and smooth.

CAUTION: Be careful not to slip as you step out of the bath, as the olive oil can make it a little slippery.

Simple Bath Blend Recipe:

  • 1 tea-spoon Olive Oil,
  • 3-6 drops of Essential Oil, eg. 3 drops Lavender, 2 drops Orange, 1 drop Black pepper.
  • Mix together and pour into the bath just before entering.

For more tips on how to make a bath & massage oil blend click here.

To buy essential oils for your bath click here.

Essential Oils and You

The intention of this blog is to share simple ways to use essential oils in every day life to support, nurture and cherish yourself.

I spend a lot of time at work talking to clients about how to use oils  (I work at a company that sells essential oils), and decided to record some of this advice for a wider audience.  Any feedback or questions are welcome, as I’d like to tailor it to your needs and curiosities and make it as useful as possible.

Essential Oils are a powerful tool that can support various issues from serious illness, to the common cold, to various stressful feelings in daily life to nasty skin conditions.  You don’t need to be able to afford an ‘Aromatherapy’ massage every week to appreciate the benefits of the oils.  If you’ve ever inhaled the essential oil from the Eucalyptus tree, then you will have experienced the very obvious, immediate clearing effect it has on your entire respiratory system, from the moment you sense it at the tip of your nose, right down into the depths of your lungs.  So, do not underestimate the effects a simple scent can have on your well-being, and because of their potency there are some safety issues that do need to be observed which I will cover.

As well as sharing many of the amazing properties of the oils and practical ways to use them I will also be highlighting the importance of You in the equation and the huge difference the way you are can make to the outcome.

For example, there is likely to be a noticeable difference in the way you and your body respond  if you were to (a) slap a bit of oil onto a sore knee each morning, if you remember, before dashing out the door & legging it for a bus or (b) come home, set a comfortable place up on the sofa, support your knee with a cushion and gently massage the oil around your knee for 5 minutes,  perhaps taking a moment to warm the oil before application and maybe even using a blanket to cover yourself so you can rest a while afterwards.

Hopefully you catch my drift, but it’s not necessarily about having lots of time to do these things, as the oils are very versatile, and as with the Eucalyptus effects noted above, they can be very quick to make a difference to the way you feel- just a dot on your chest can help you breath more easily.  I like to keep things simple and clear, and I always like to make sure advice I give to clients is useful to them  in particular.  I find taking a bath a gorgeous way to enjoy the oils, you may not particularly like baths, or you may not have a bath, so then there is another way to find for you to enjoy them…

Remember that the things I share with you in this blog are just tools for you to use to bring a little extra care, fun and nurture to your life and there are many other ways to do this, but the choice to really respect and appreciate how special you are comes from you.  You could bring just as much support and healing to yourself in the way you eat or cook, or the way you exercise or move your body.  Using the oils is just another way of getting to know yourself and what works for you.  For me, it is a really lovely, practical and effective way, to support myself, the scent can make me stop and notice something which helps halt the busy-ness I can get caught in, and choosing the method of using the oil makes me stop and say ‘what do I really want to do?’, instead of just doing the same old thing.  There are so many delicious oils to discover so you get to be creative even if it’s just choosing between lavender or rose in the bath…

Gentle Hermione