After giving birth recently, I have found myself using floral waters (also known as flower waters, hydrolats & hydrosols) in various ways to support myself and my new born son.
In the main I avoided using essential oils in pregnancy because they are so potent and can cross the placenta*, but floral waters are extremely gentle so are perfect in pregnancy, when breast feeding and for baby care as well as for delicate sensitive skin. You do need to make sure you get a good source of floral water, so you get the qualities, similar to the essential oil, in and not additional nasty ingredients. They tend to have additives to help preserve them, often alcohol and this doesn’t make it appealing for applying to delicate or damaged skin. This is because floral waters tend to be prone to contamination and susceptible to growing bacteria in, but if its processing is done well and it is not a by-product of essential oil production it can be strong enough to not need the preservatives. I have a small range of the most useful flower waters here that come in spray bottles: rose, lavender, chamomile & neroli. https://shop.essentialoilsandyou.co.uk/collections/custom-skin-care
Here are my top tips on using floral waters in the fourth trimester:
Baby bottom care: I have spent a lot of my time cleaning a tiny bottom with rose water during nappy changes to make sure his skin doesn’t get sore. A friend recommended I make up a flask of hot water to keep by my nappy changing station, so I had this with a small bowl and some cotton pads ready for cleaning when nappy changing. I pour a little of the hot water from the flask into the bowl, allow to cool slightly, dip the cotton pad into the water and then spritz rose water on each side of the pad. Depending on how messy it is I may do this a few times and his delicate skin gets the nourishing properties of the rose water along with the anti-microbial action.
When I notice his skin is red, then I use chamomile water as it’s particularly anti-inflammatory, so more helpful for this, lavender water would also be suitable. I sometimes just pat the chamomile or lavender water on his skin so it’s more effective. If I’m out and about, I just use a gentle wet wipe, and can spritz the floral water on this for extra nourishment.
Nipple care: to make sure my nipples don’t get sore from breast feeding I spritz them with lavender or rose water several times throughout the day. It’s so gentle it would not be an issue using it if the baby is then feeding shortly after.
Episiotomy care: I had an episiotomy which made life a bit more uncomfortable for the first few weeks after the birth, it meant I had to be careful keeping the cut clean to avoid infection and as I couldn’t have a bath due to stitches. I used lavender flower water which acts as a gentle antiseptic. After a shower and before bed I would soak a cotton pad in lavender or chamomile water and gently clean the area.
I also applied my scar care balm (click here for recipe or click here to order) made of rosehip oil, myrrh, lavender and chamomile essential oils, to support the cut healing & avoid infection. I applied this around the area while it was still closing and directly on it when completely sealed.
Skin care: I ended up with several spritzer bottles of lavender, rose, chamomile & neroli flower waters around the house so I would also give my face a spray whenever one was nearby for nourishing my skin and refreshing my senses.
*It is possible to use certain essential oils in pregnancy and with babies, but generally only for specific issues and you would need to be treated by an experienced, qualified practitioner.
A very simple recipe for making a Room Spray using essential oils. Not only will using essential oils give your room an amazing botanical scent, it will also sanitise the atmosphere – all essential oils have an anti-microbial action to varying degrees, so this spray will really support you in your environment.
Half a Tea spoon of Emulsifier, this could be vegetable glycerin or castille soap (Mystic Moments sell organic versions of these) –this ingredient is essential to make the essential oil mix with the water, otherwise it will stay separated, floating on the top of the water and most likely go off within a few weeks.
1ml Essential Oil(s) (30 drops approximately) – you can use one essential oil or a blend of several – see suggestions below*
Instructions: Mix all the ingredients into a spray bottle and shake well. Label and date the bottle so you don’t forget what it contains and allow around 6 months shelf life.
You can purchase a spray bottle from Baldwins: www.baldwins.co.uk – Alternatively, if you have purchased the flower water from my webshop, it will come in a glass spray bottle and you can just add the emulsifier and essential oils to that.
Use: Shake before use and spritz around the room as you feel to…
*Below are my suggestions for some essential oil blends to inspire you. If you would like to choose your own then check out my blog: A List of the most popular Essential Oils, their Uses and Cautions for more ideas. You can use one oil or blend as many as you like, but keep the total quantity in the recipe to 1ml (approx. 30 drops).
Citrus Sparkle – cleansing and invigorating
Lemongrass 10 drops
May Chang 10 drops
Lemon 10 drops
Herbalicious – cleansing and strongly anti-microbial
Rosemary 10 drops
Thyme 10 drops
Lavender 10 drops
Clean Green – cleansing and refreshing
Pine 10 drops
Eucalyptus 10 drops
Lime 10 drops
Sweet Harmony – cleansing and balancing
Geranium 10 drops
Orange 10 drops
Cardamom 10 drops
Click here to see the full range of essential oils on the webshop – use the voucher code ‘CHERISH’ at the check out for £5.00 off your purchase.
Anosmia, when you lose your sense of smell completely, is a possible symptom of the Coronavirus disease, (Covid-19).
Although there are many reasons one may lose their sense of smell, it is more prevalent at the moment because of the Coronavirus which is why I wanted to write about it and bring some awareness to what happens when you lose your sense of smell and what you can do about it.
We’ve probably all experienced losing our sense of smell at some point when we’ve caught a cold and our nose has been blocked. Usually, with the Coronavirus, the loss of sense of smell is not accompanied by a blocked nose, which would normally serve as an obvious reason why we can’t smell, and we naturally assume that when our nose has cleared, we will likely smell as normal again and therefore we don’t worry too much about it. But, without the nose blockage, the loss of smell is more disconcerting. In most cases of Covid-19 it does return within a few weeks, but for some people it can take longer and can benefit from support.
I had the pleasure of seeing Chrissi Kelly present on the subject of anosmia at an aromatherapy conference a few years ago and I gained a great understanding of what it really means to lose your sense of smell and how devastating it can be. Most of what we think we ‘taste’ actually comes from what we smell, and therefore a huge amount of the pleasure we take from eating goes with it. Most people will have experienced this – when you get a cold and you eat your favourite comfort food, it doesn’t really satisfy. That’s because when you ‘taste’ you only really experience wether a food is sweet, salty, sour, bitter and umami (savoury). You of course experience the texture but the finer details are from the smell and when this disappears it can be dearly missed.
Support – Some people find losing their sense of smell to be devastating and debilitating to their lives, with a great sense of loss and it can cause depression. Abscent.org is a charity set up by Chrissi Kelly who lost her sense of smell and wanted to support people experiencing these symptoms and the repercussions. There is a huge amount of information and support on this site, so I highly recommend checking it out to learn more and to get more support. Chrissi shares current research, symptoms you may experience and, probably most helpfully, a technique called Smell Training to help with smell loss.
Smell Training In the case of the Coronavirus, the olfactory epithelium cells are attacked and olfactory training supports the re-wiring and re-growth of these cells. It kind of makes sense doesn’t it? – when you break or strain a part of your body, you do regular exercises to regain the movement and strength. So, if you lose your sense of smell, depending on the cause, you can retrain it by exercising the olfactory complex in the brain, a sort of physiotherapy for the sense of smell.
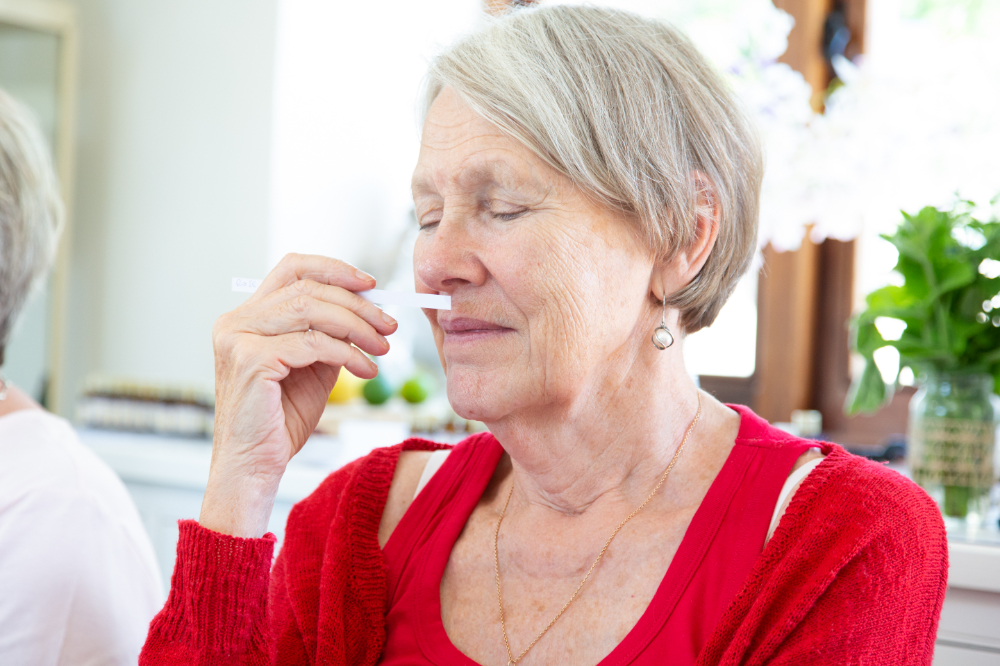
How to Smell Train – Smell training is extremely simple, you take 4 different smells (see kit details below) and you make space twice in your day to smell each one separately with absolute focus so as to note any responses, which may be extremely subtle or non existent for some time. As you smell, try to inhale the scent with little ‘bunny sniffs’, rather than deep into your chests and lungs. The best way to do this is with essential oils as they smell very strong, but inhaled from small pots rather than from the usual bottles they are supplied in, this is to ensure you are smelling more easily from a large area and not from the tiny opening that essential oils tend to have (which is usually fine until your smell is compromised). This can be a long process, so building the session into your daily ritual is important, it is recommended that you carry this out for at least 4 months even if you don’t smell anything, and keep a diary of any changes you may experience so you can keep track of any progress. Do your best not to be disheartened if you don’t smell anything for a while, think about doing physiotherapy exercises after an injury, it takes time and commitment before your body recovers and its the same with the olfactory epithelium cells. Listen to Dr. Thomas Hummel interviewed here on The Smell Podcast who carried out research on Smell Training.
Smell Training Kit
You can buy a ready made version for £20: Click here to order a Smell Training Kit – it usually comes with clove, rose, lemon and eucalyptus essential oils but you can choose any 4 alternative essential oils – as the scent isn’t particularly important and they are freshly made to order.
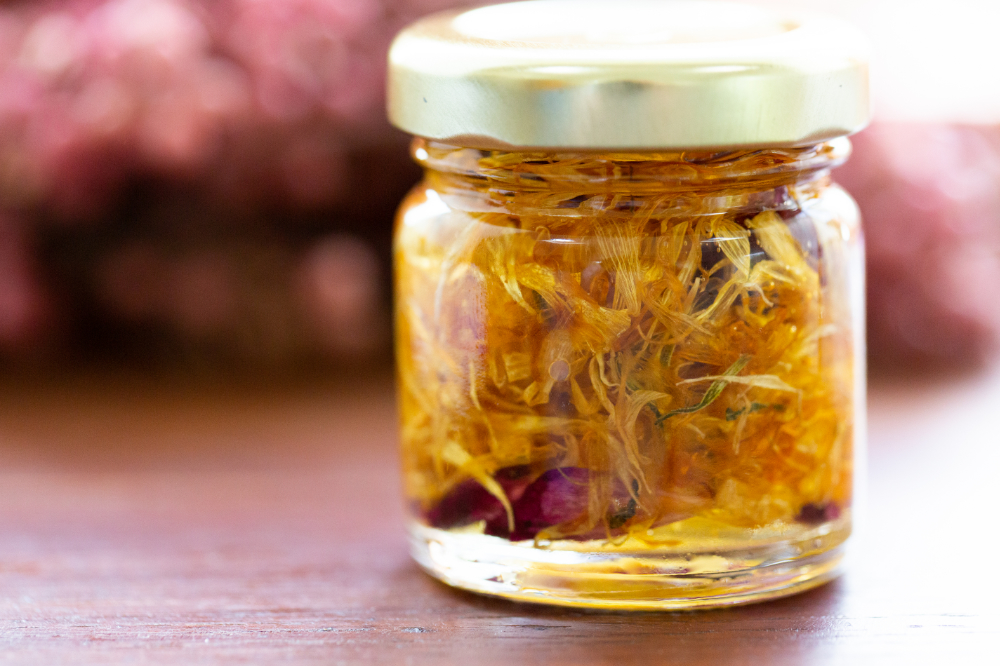
Alternatively, it’s simple to make your own, you just need 4 small amber glass jars (30g), and 4 different essential oils. For each jar place a small piece of water colour paper inside, sprinkle 6-8 drops of a single essential oil onto the paper in the jar and put the lid on, then add a label. Refresh after a couple of months of use.
Other symptoms to be aware of that you may experience:
Parosmia – a distortion of sense of smell, a person can detect smells that usually smell pleasant but now come across as extremely unpleasant. It can be triggered by specific smells or by everything. It is however, usually a sign that smell is returning, although can still take a long time.
Phantosmia – these are phantom smells that appear when there is no source to the odor. They can also be unpleasant.
Hyposmia – a reduced sense of smell.
More information: In the past there has been little known about the effects of and recovery regarding anosmia, but since the outplay of the Coronavirus disease (Covid-19) more research and support is continuously being made available, so do check out the website AbScent for a wealth of information: www.abscent.org
Myrrh is a deeply healing oil, it is especially effective for festering, difficult to heal wounds, this makes it very useful fo mouth ulcers. Being in the mouth, an ulcer (open sore or wound) is constantly moist, being moved and having things bump across it, making it difficult to heal, not to mention painful and uncomfortable especially when it comes to eating.
Myrrh essential oil is the perfect antidote to the problem of getting an ulcer to heal, just mix 1 drop with a teaspoon of olive oil and then apply with your finger tip to the affected area. Do so morning and night, after cleaning your teeth (and potentially Gargling with Myrrh) and when you feel to through out the day.
Myrrh is also useful for other types of ulcers as well as bed sores, get in touch if you would like to discuss a custom made product to help with these conditions: laura@essentialoilsandyou.co.uk – Click here for Custom Blends.
Caution ~ Avoid using myrrh essential oil in pregnancy, although it can be useful in the 3rd trimester to prepare for birth make sure you seek professional advice for this. Tip: replace myrrh with lavender essential oil for treatment of a mouth ulcer, but only after the first trimester.
Internal Use ~ essential oils are not suitable for internal use unless you are being treated by a professional health practitioner. Use in the mouth is considered safe and not technically internal use.
See my blog on Gargling with Myrrh for helping with more general oral health problems.
When I first completed my aromatherapy training, I treated a lot of pregnant women. It was a true pleasure and privilege and I noticed how willing they were to bring a much deeper level of care to themselves, something that I did not see as abundant among women. Of course, it is a time when in many ways a woman is at the mercy of her body and has to adjust many things in the way she lives her life. But I did note, that many chose to do more loving things for the sake of the baby they were carrying, that they would not have made solely for themselves. For example eating more carefully, not pushing themselves, cutting out food and drink that wasn’t supportive, such as alcohol and coffee. There were things that I was choosing for myself back then, even though I wasn’t pregnant, nor had been. The overriding reason for making these choices was still the messages I received from my body that I chose to respond to, although perhaps not as obvious as when someone is pregnant, they are still there. I was more focussed on health generally due to having entered a career in the healthcare industry. The more I did listen to my body, the more I became aware of my body’s messages and the more deeply I began to care for myself, with the results being many amazing and sometimes quite unexpected unfoldments, change and opportunities.
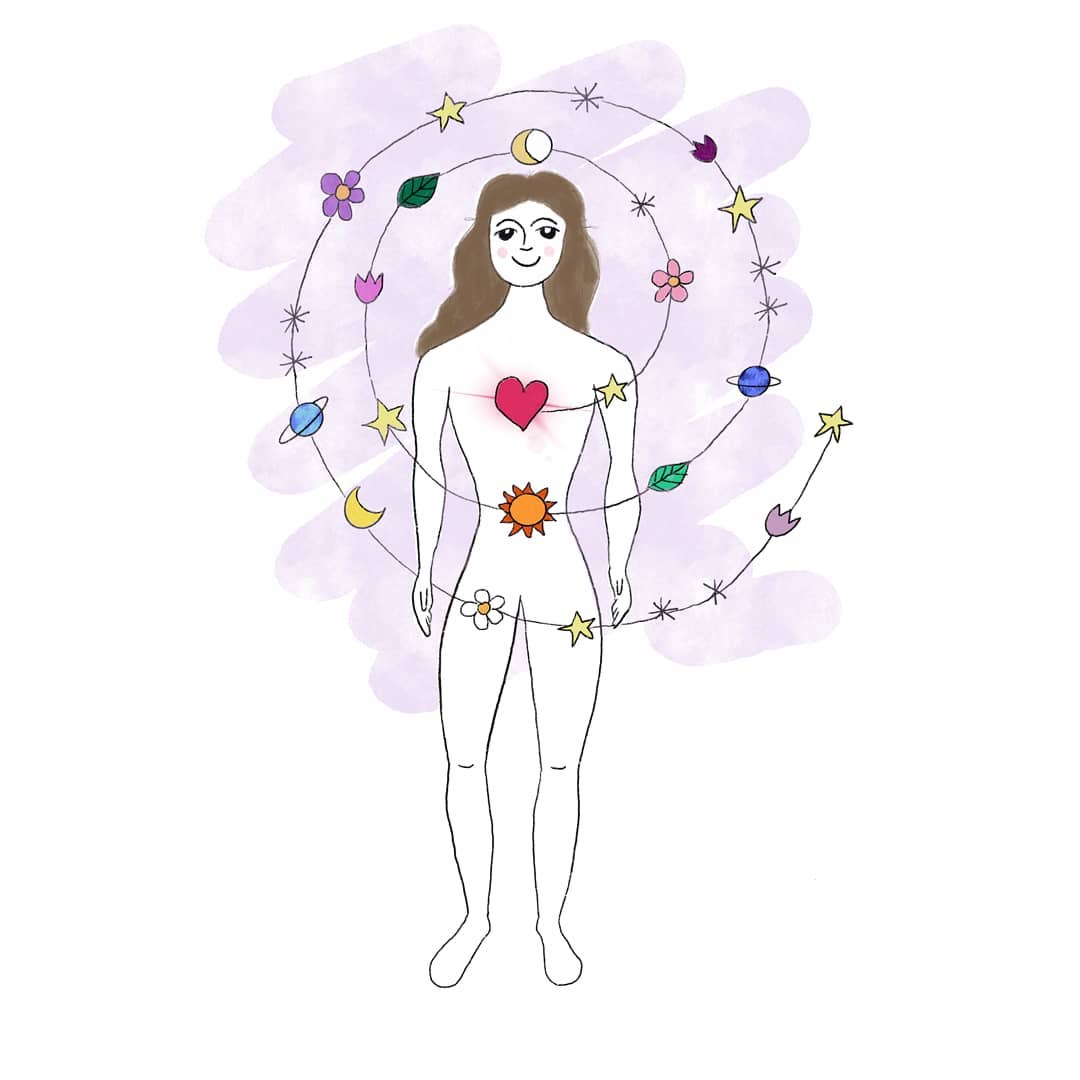
Art by Kelly Basford.
Now, more than 10 years later I am pregnant myself and a realisation dropped in. Even though I feel I do take care of myself, without perfection and listen to my body, as the realisation of carrying a child and preparing to bring them into the world began to feel real, I had a thought: my choices were now, not just about me, they were about me and one other. As this thought came, I immediately realised that I still, in the main, live my life for myself, and that really it should not take having another being inside me to make me consider more than myself in any choice I make – it was a bit of a shock and felt horrible to admit. True, building a self caring way in my every day means I am able to support myself and others more so than if I didn’t, so self care is still a priority, infact my foundation. And true, there is a huge impact on my child whatever I do, especially when I’m pregnant and in the early childhood stages, so the child will naturally be considered. But, the question that came was: is that really any different to the impact that the way I live every part of my life has on all others?
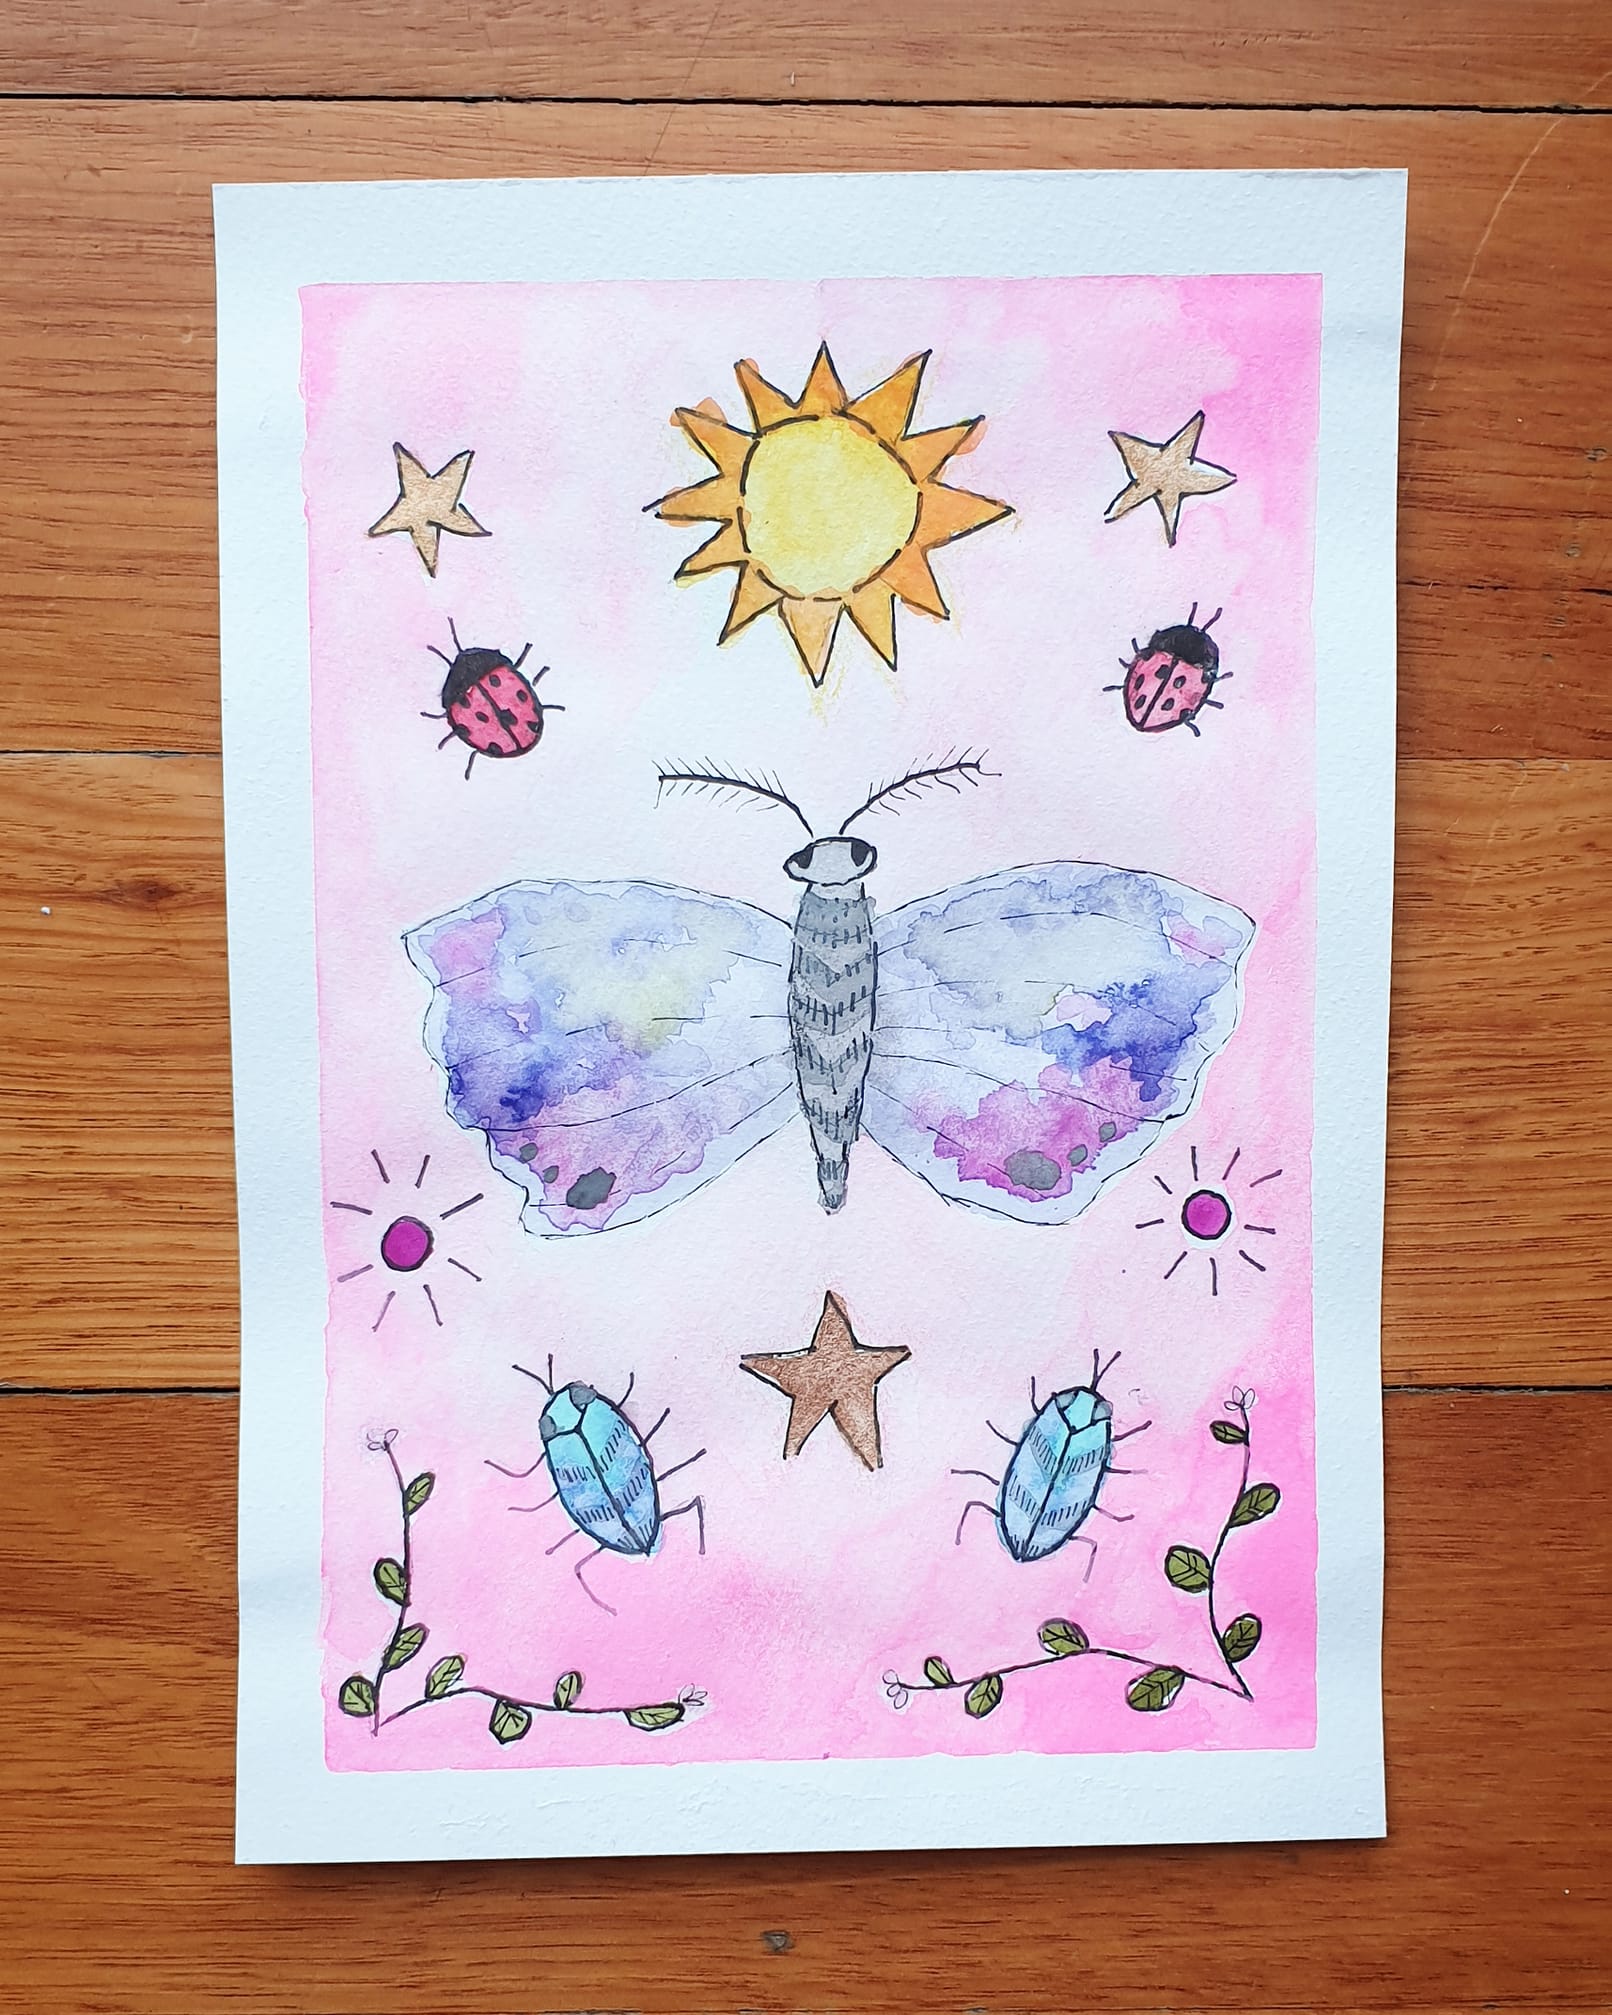
Painting by Kelly Basford.
What if we all truly understood that every choice, action, movement, even thought, actually does have an impact on everyone? There is a huge ripple effect that comes from each of us, and that can be felt by all on some level.
If we were fish in the sea, each movement of our fins, tails, mouth, etc. would have a tangible ripple effect in the water, that all the other fish and sea life live in and would feel. Just because we don’t see air in the same way as the water they live in, it is surely just another medium that our movements will ripple out and touch others by…
So, this mini revelation really highlighted to me that every choice I take, every move I make, counts for all.
For more writing on the philosophy of life, I recommend checking out the following fabulous blogs:
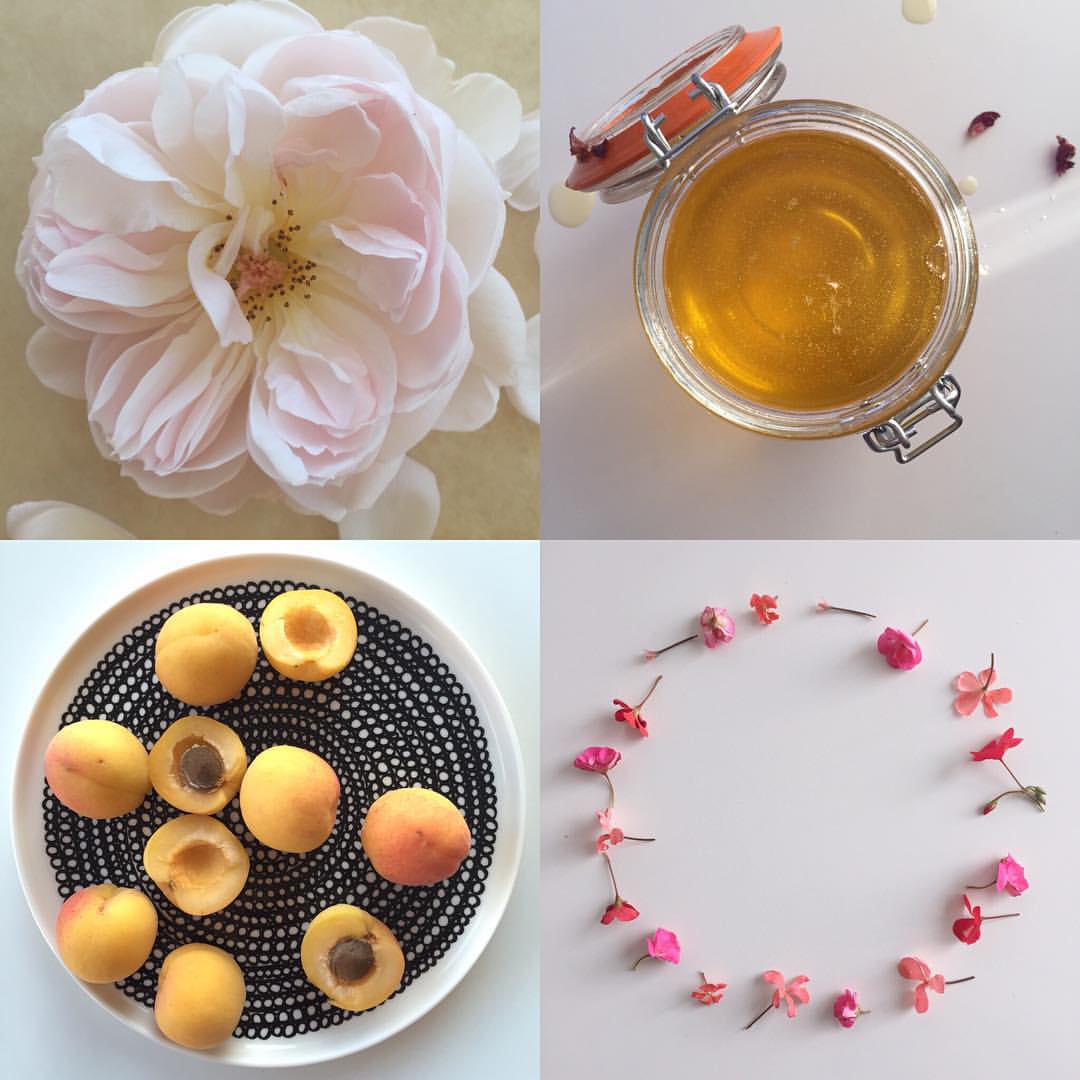
Macerating or infusing plant material in oil is a great way to capture the scent and/or medicinal qualities of a plant.
Calendula (marigold) petals & a few red rose petals infusing in apricot oil.
Infused oils can be made from many flowers and herbs, you can either grow your own, pick wild, or buy from a trusted supplier – the time of year and season is likely to play a part in your choice here. I always recommend using an organic, food grade source if you’re buying plant material, or be sure if you’re harvesting your own, that the plants have not been sprayed with chemicals. See some options for different plants to experiment with and suppliers are listed below.
An infused oil is quite different from an essential oil which is made by steam distillation or solvent extraction. These methods require a huge amount of plant material, specialist equipment and are usually very expensive. Maceration is a much more practical way to make small amounts of scented oil or oils with plant medicinal properties when you don’t have vast fields of land to grow on. It is also a ready to use product that does not need diluting before using on the skin as with an essential oil.
The process of maceration involves leaving plant material in a carrier oil (e.g. sunflower or almond oil) for a period of time until the oil takes on the scent or the quality of the plant. Have you ever had butter in your fridge, and an onion, and the butter ends up smelling of onion? The fat/oil naturally absorbs those fragrant molecules and others too.
Here are the instructions for making a maceration:
Ingredients:
Plant material – 100g fresh or 75g dried(e.g. flowers, herbs – see below for options)*
Base Oil – 300g (eg. olive or sunflower oil). Choose something that has little or no scent if you want to capture the scent of a flower. I like apricot or jojoba for this and they already feel lovely on the skin. If you’re using a plant for its medicinal properties such as daisy or calendula, then the base oil doesn’t necessarily have to be without scent, you could use olive or sunflower oil. Also, something cheap and refined is fine, as you will be enriching it with the plant. For more details on base oils see: A List of Carrier Oils and Base Products, their Uses and Qualities.
Equipment:
Container (Glass Jar with air tight lid).
Muslin Cloth, or fine sieve.
Label.
Option: Bain maire or double boiler (for the heated method outlined below).
Drying rose petals.
Instructions: The slow method: If you’re buying dried plant material then it’s ready to use. If you’re picking your own, make sure you do so when the flowers/leaves are dry and there hasn’t been any rain for a few days previously. You want to avoid any moisture getting into your mix at all costs, as this can contaminate it.
Once you’ve harvested your flowers/herbs lay them out to dry. Avoid putting them in the light or sun, you can purchase an ‘air dryer’ or lay them on a tray and keep in an ‘airing’ cupboard. An afternoon should be enough to lose the water in the petals, although I sometimes leave my air dryer out for days and the scent in my home is heavenly.
Collect the petals/leaves carefully and put them in the jar, you will naturally leave behind little bits of dust or grit as you pick them up, and there might be some you want to discard, any creepy crawlies should have crawled away by then.
Dried lawn daisies in a glass jar, ready for the base oil (sunflower) to be poured over…
Fill the jar to the top with the dry plant material, and then pour in the carrier oil. If you don’t have enough plants to fill the jar, use a smaller one, you want to just cover them with oil, and not leave any space for air. Check after a few hours to see if the jar needs topping up with oil, as the plants will start absorbing oil and may sink down into the jar, or any air trapped will have risen to the top and made space.
Seal the lid tightly and leave for 3-6 weeks in a warm cupboard, away from light or sunshine (airing cupboard is perfect), shake the jar every now and then, when you remember in case any more air bubbles form. I also label and date the jar, so I don’t forget what’s in it or when I need to strain it.
After at least 2 weeks, strain the spent plant material through some muslin cloth, or a very fine sieve, into a container (bowl, jug etc). You will notice the plant material has lost its colour and likely the oil has changed colour – depending on what plant you’re infusing. Squeeze as much oil as you can from the plant pulp and you are left with the enriched macerated oil. You may need to run the oil through the cloth twice to avoid any tiny bits of plants left in the oil, leaving them in could mean they start growing mould.
Double boiler or bain marie for gently heating the oil & plant infusion.
The fast method with heat: If you want to make your infused oil to use immediately, then you speed up the process by gently heating the flowers/herbs and oil. Instead of adding the dried plant material directly to a jar to keep, put them in a double boiler, bain marie or just a glass bowl that can fit over a pan – the aim is to let the steam from water in the bottom pan very gently heat the top pan or bowl (as if you were melting chocolate). Pour enough oil on so that all the plants are covered and saturated in oil and gently heat for 2-3 hours. Do not let the mixture heat too much, let the water in the bottom pan just about simmer. Do not leave the oil unattended as it is potentially flammable, but you will want to be around to enjoy the delicious aroma anyway and to ensure it doesn’t over heat. After the 2-3 hours is complete, remove from heat, allow to cool, and then strain through muslin cloth as with the above method.
For a more intense version you can repeat this whole process by adding more plant material to infuse the same oil with (for both methods).
The macerated oil is a useful ingredient for enriching the following products:
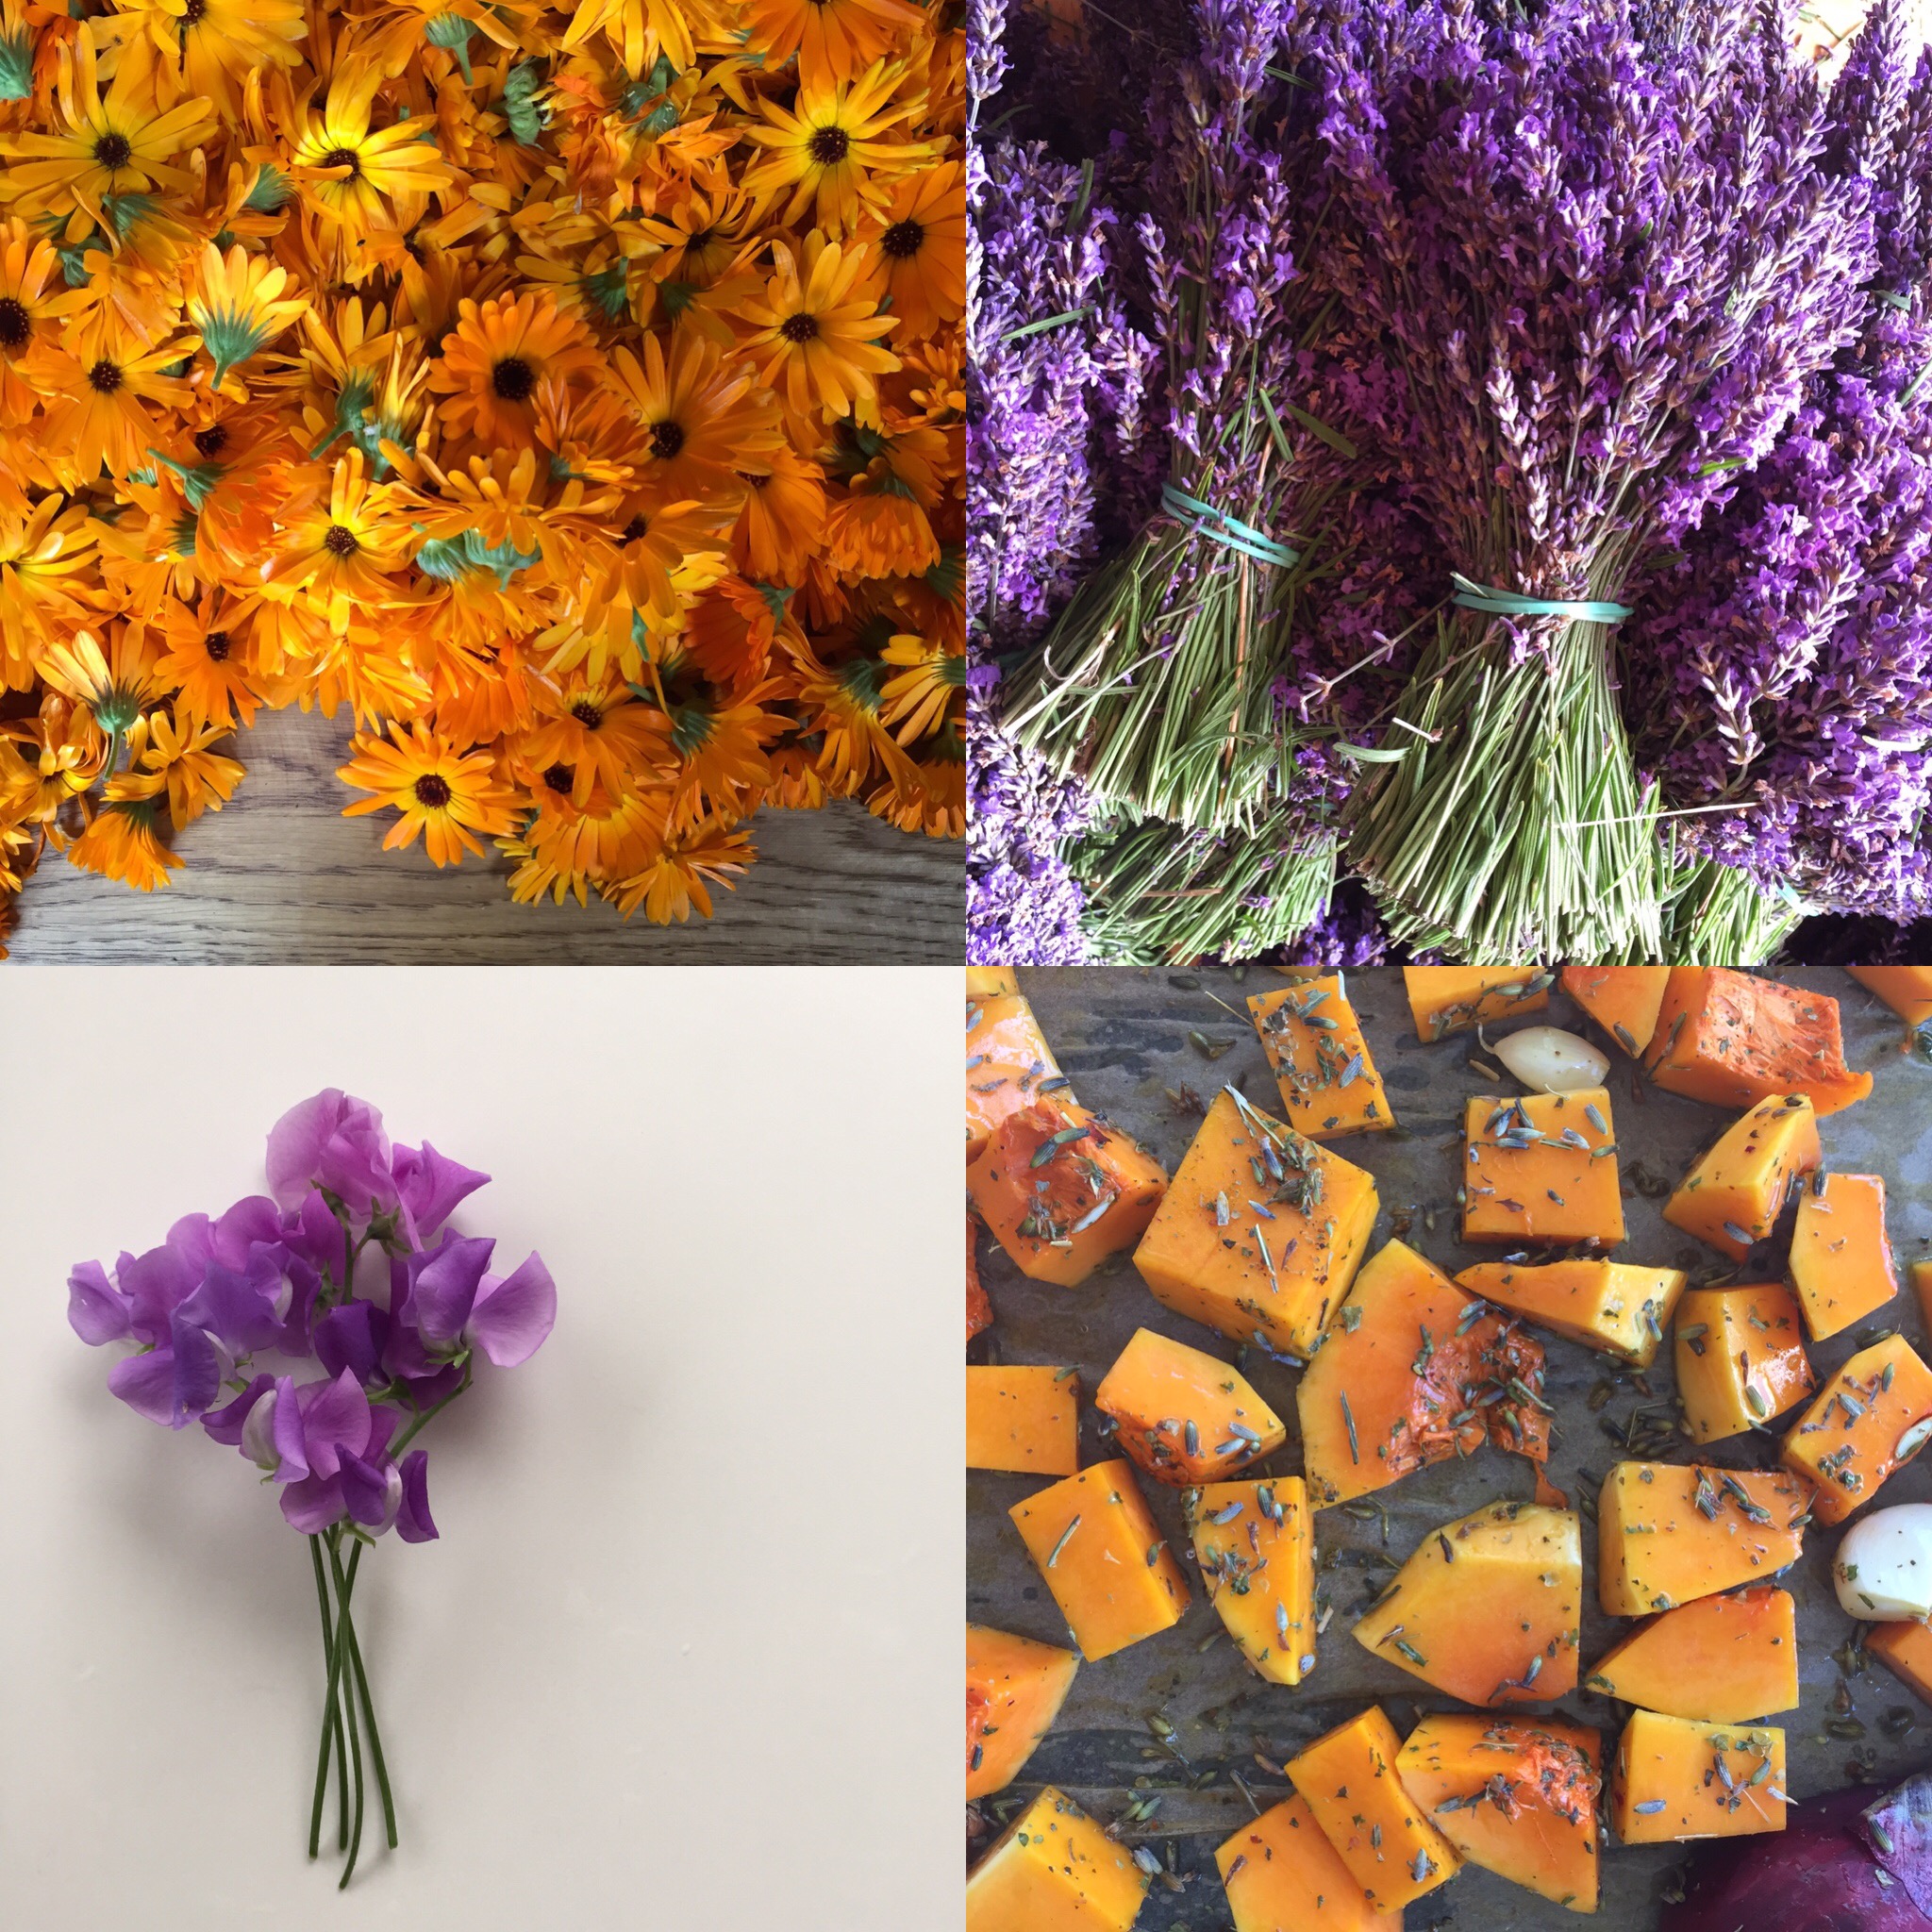
*Flowers & Herbs to try infusing, either for scent, medicinal qualities or both:
Roses – if you want to capture the scent of roses in particular check out my blog on Rose Scented Oil – How To Make Your Own – with instructions specifically tailored to making rose infused oil.
Calendula or Marigold petals, a great skin treat, that helps scars and skincare.
Lavender flowers – a fresh scent with anti-microbial effects, soothes and calms skin.
Chamomile flowers – calming soothing, helpful for eczema and sensitive skin.
Daisy flowers – similar to arnica in action, so use for bumps and bruises, aches and pains.
Rosemary leaves and stalks, invigorating, great for muscles aches and pains.
Scented pelargonium leaves for the scent.
Orange blossom for the scent and soothing properties.
Violets – for the scent.
Chickweed – very soothing and cooling for the skin, ideal for eczema and skin conditions.
Self heal flowers – great for cuts and scrapes.
*Growing your own – if you want to grow your own plants to use for this, remember you need to avoid spraying chemicals like insecticides or fungicides to use them for making skin care products. If you’re buying new plants, make sure you use a reputable supplier, and that the Latin name of the plant is available as common names can be confusing or misleading. And by the way, I only have a balcony, and still manage to harvest enough plant material to keep me busy – calendula is super easy, as are pelargoniums (geraniums), rosemary, chamomile and thyme. Roses are a bit more effort but well worth it. It depends on your environment of course but there is a whole world of fun to be had, as well as providing some love for bees and other insects and wildlife!
Daisies infusing in apricot oil, ready to put into a warm cupboard for a few weeks…
CAUTIONS:
Wether you’re growing your own or picking from the wild, you must be 110% sure that the plant you’re using is what you think it is. Never guess! There are highly poisonous garden plants and wild plants out there that could result in serious injury and even death, so you want to be absolutely sure that what you’re infusing in oil is suitable to moisturise your skin with. A good rule to follow is if it’s edible, and you would use it in food or as a herbal tea, it will be fine to put on your skin – although some plants like chilli or garlic would not be appropriate for obvious reasons. Even if you buy plants to grow at home, check the ‘botanical’ name, garden centers are notorious for selling common name plants that might not be the same as the botanical species you intended. If you have any doubt, then don’t use it.
Don’t use plants that have been sprayed with insecticides, or fungicides, as the oil will absorb these too.
Make sure the plants you pick are clean, as you are not able to wash them, due to needing to avoid moisture, avoid picking plants from popular dog walking areas and pay attention to what you’re picking – you don’t want anything unintended sneaking in with your harvest.
Tips:
You could also try mixing different flowers for a blended fragrance or effect, although making separate infusions still leaves you open to blending at a later stage.
You can use macerated oils on foods too, things like chilli, garlic, rosemary, thyme, even lemon peel in olive or sunflower oil and use it to drizzle on salads. You can just place the plant in the bottle of oil ready to use, as long as there is no water or moisture on it, it should keep for the duration of use.
I made a balm to help with stretch marks this week. I’m 15 weeks pregnant and my tummy is beginning to expand, so this is to help ensure I am not left with stretch mark scars as my body changes. You can use this balm to help avoid stretch marks when gaining or losing weight for what ever reason, including during and after pregnancy. Since my breasts have also increased in size, I will be using it on them until the baby is born. If breast feeding, then only apply at times when there is space between your baby feeding as you don’t want them feeding on the balm, or being put off by it.
Lavender, 1 drop (ensure it’s pure ‘Lavandula angustifolia’ essential oil).
Caution: not all essential oils are safe to use in pregnancy, so check any safety advice if you want to tweak the recipe. Also, essential oils should be used at a much lower dose in pregnancy, as they can cross the placenta, so use around 0.25%. I always imagine I’m choosing oils that will be safe for the baby if I’m making something for someone who is pregnant.
*You can replace the calendula oil with something else if you wish for example daisy oil, olive oil, apricot oil, safflower oil or camellia oil. You can also replace the rosehip oil, but this is particularly useful for scars.
Instructions:
Weigh out the beeswax and shea butter using the scale and weigh or measure out the base oil.
Use a bain marie or double boiler to melt the beeswax (do not heat directly), then add the base oil and continue to gently heat. Add the shea butter at the end so it is not heated longer than necessary. As soon as it’s completely melted remove from the heat.
Let it cool a little before adding essential oils, so they are not affected too much by the heat. If it begins to solidify give the mixture a stir.
Pour the mixture into a clean, dry container and leave to cool and set before applying the lid and labelling so you don’t forget what’s inside.
The balm should last for 12-18 months, but if it smells rancid, it may have been contaminated and should not be used.
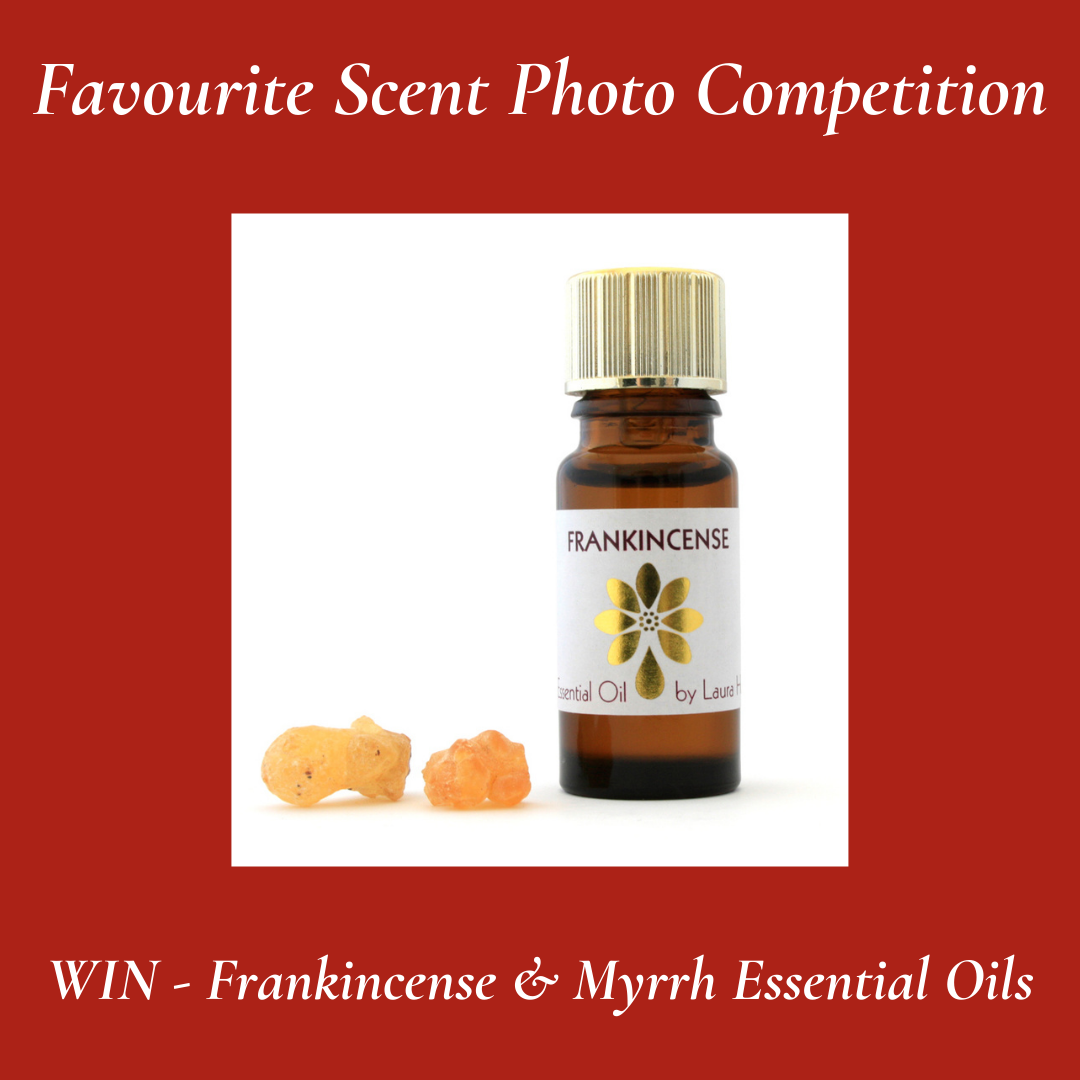
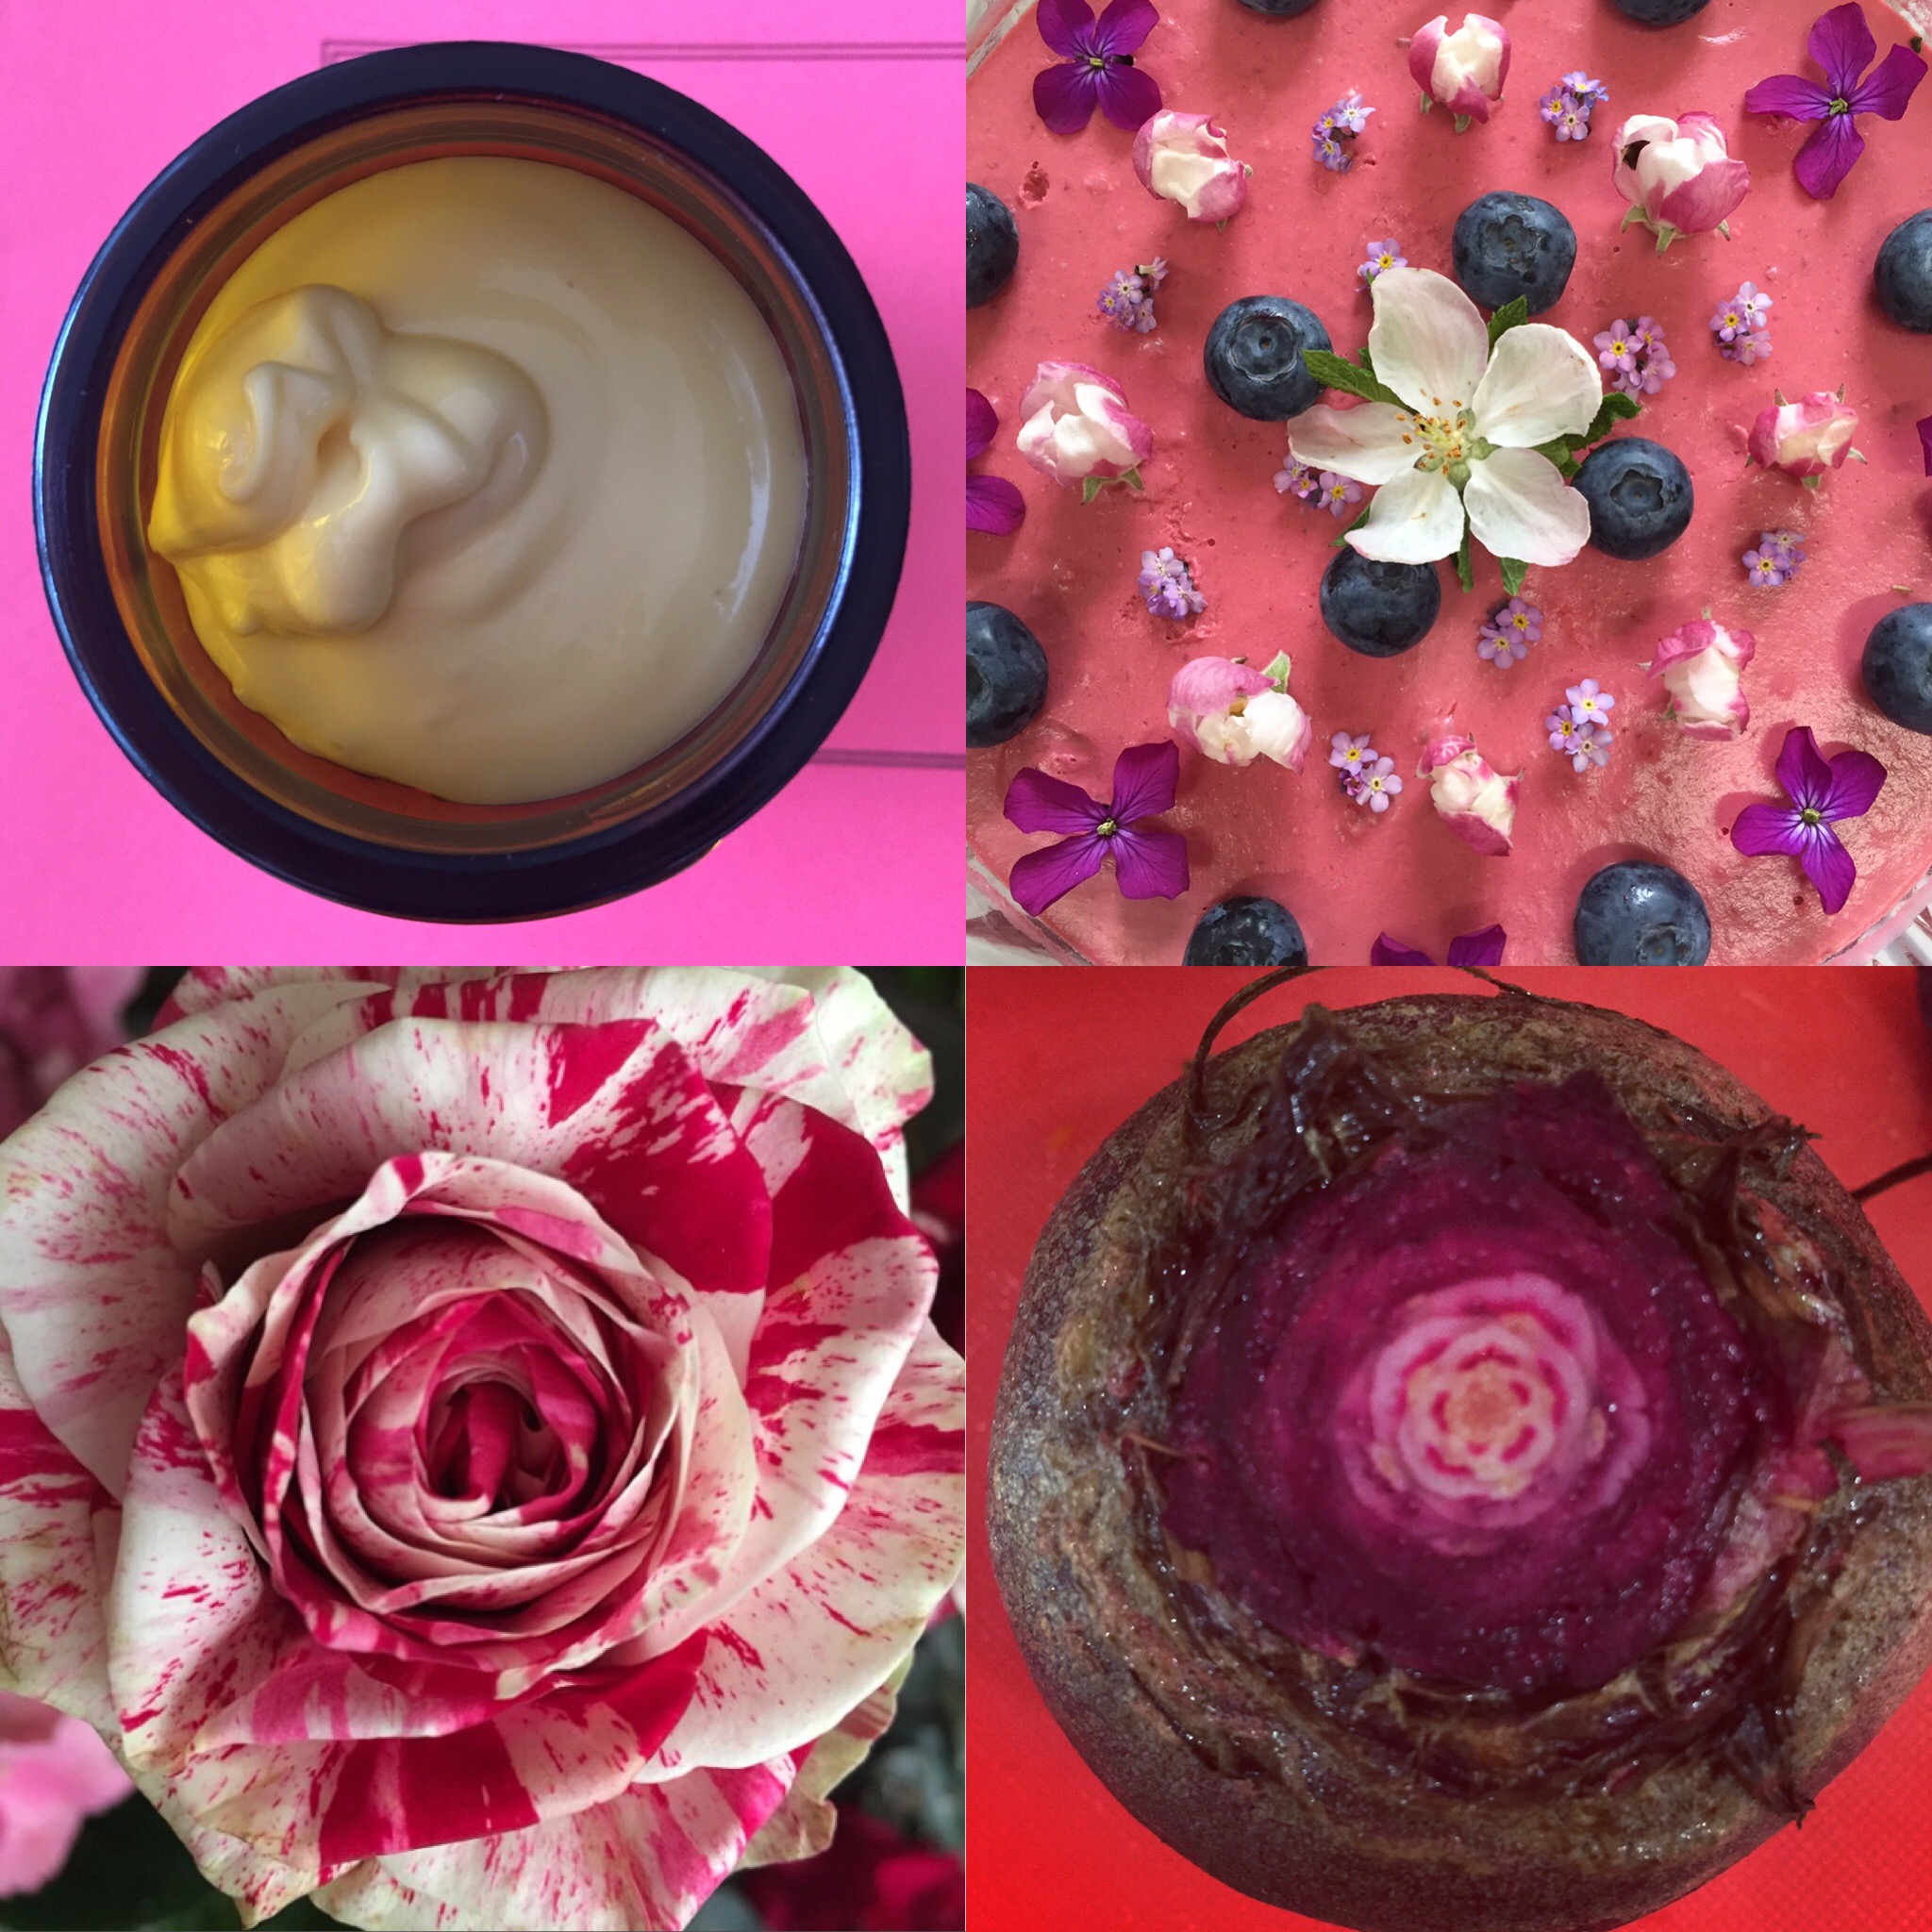
All you have to do to be in with a chance of winning these precious oils (or a pair of your choice*), is share a picture via social media that captures your ‘favourite scent’. You can use any of the following platforms:
Email – email your images to laura@essentialoilsandyou.co.uk (note images may be shared on social media platforms.
The photo doesn’t have to be related to essential oils, it can be of anything that gives a sense of the smell you like, from your favourite flower to ingredients in your favourite meal, it could even be a person who you love the smell of…
Feel free to enter more than one image if you discover you have lots of favourite scents.
*You may choose another pair of essential oils as a prize if you prefer with a value up to £40.
The competition closes at midnight on Christmas Eve and the winner will be announced on Christmas Day. Open to all.
More Treats for November & December 2020: If you need to stock up on essential oils or aromatherapy accessories before the end of the year please take advantage of my £5 gift voucher, just enter the code CHERISH at the checkout. You can also request free gift wrapping, just let me know in the notes section if you require this.
These notes are designed to follow on from my Soap Making Workshops. If you have not attended a workshop you can still read through the notes, then follow the recipe and instructions to make your own soap. Make sure you follow the recipe exactly, so all the caustic soda/ lye is used up and your soap is safe to use on your skin. Feel free to ask any questions if you’re unsure about anything.
Equipment • Slow cooker or ‘crock pot’.
• Scales • Bucket/suitable container for mixing. • Measuring jugs • A stick blender (immersion blender) • Spatula • Baking parchment paper • Loaf tin or jelly moulds for soap shapes – silicone moulds are great. • Optional Extras – essential oils to fragrance and flowers to decorate
Safety • Wear professional safety equipment, to protect yourself when the sodium hydroxide is used – goggles, gloves and a mask are essential once you begin using the sodium hydroxide. • Use solid stainless steel or polypropylene for mixing sodium hydroxide in. • Ensure you are in a well ventilated space so you are not breathing in the fumes from the sodium hydroxide. • Make the soap at a time where you will not be distracted and there are no children or pets around. • Use the exact amounts in the recipe to ensure all the sodium hydroxide is used up when the soap is complete and ready to use (see below for how to tweak the recipe)*
Soap Recipe
Spring Water – 380g (do not use tap water)
Sodium hydroxide (caustic soda/ lye) – 137.40g
Olive oil – 650g (do not use pomice olive oil)
Shea butter – 80g (for creaminess)
Coconut oil (not fractionated) – 270g (for bubbles in your soap)
Orange essential oil – 30g
Calendula (marigold) petals – hand full.
Instructions • Prepare the loaf tin or container by lining it with parchment paper – if you are using silicon moulds they won’t need lining. • Weigh all the ingredients out. • Put the oils & shea butter in the slow cooker first on a low heat so they gently melt. • At this point make sure all your safety gear is on and there are no distractions, then in a separate container, add sodium hydroxide (caustic soda/ lye) to water, this causes an exothermic reaction, making the mixture heat up very quickly. Never add water to sodium hydroxide as it will be too concentrated initially and could bubble up. Because of the fumes that are produced, at this point, I often do it outside if there is a safe and suitable space. DO NOT GET THE MIXTURE ONTO YOU! • Stir the sodium hydroxide and water, initially it appears cloudy, wait for it to become clear and then add it to the oils & shea butter in the slow cooker. • Use the stick blender to blend everything until it leaves a ‘trace’. This means, when you drip the mixture you can still see the impression it leaves behind in the mixture.
This is the point that you would pour the soap if you were making cold pressed soap.
For hot pressed soap, you leave the mixture in the slow cooker, on a low heat with the lid on for 15-20 minutes.
Set a timer so you remember to return and check the mix.
When you return, the mixture looks like the fat has separated from the liquid. Use a wooden spoon or spatula to mix everything together again, and then leave it for another 15-20 minutes.
When you return this time, the mix looks like vaseline or apple sauce, and will have lots of air through it. Stir everything together again.
The mixture is still very hot so take care.
Turn off the heat on the slow cooker.
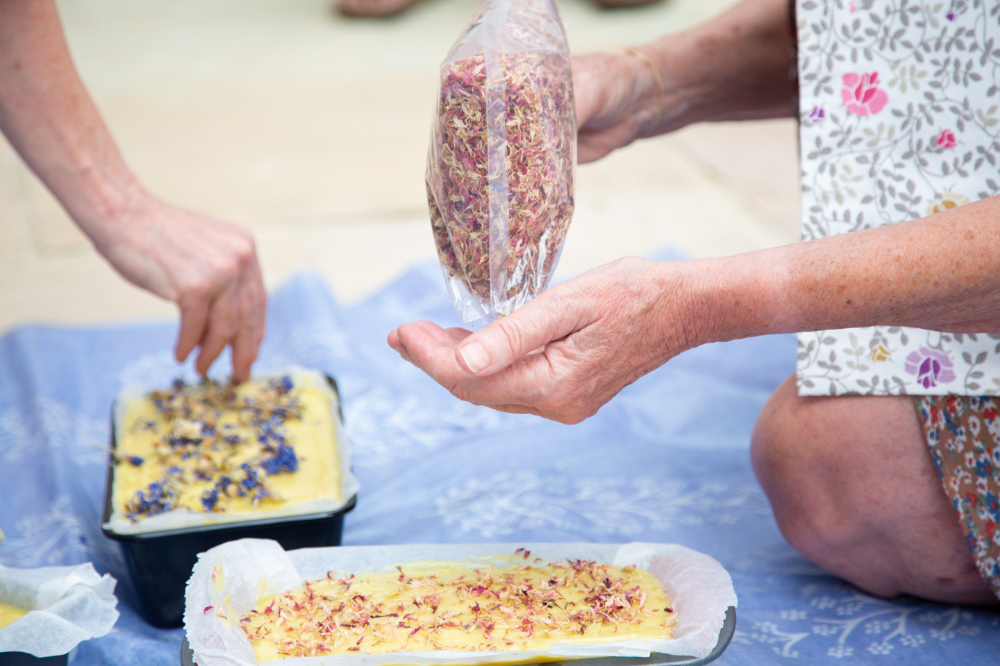
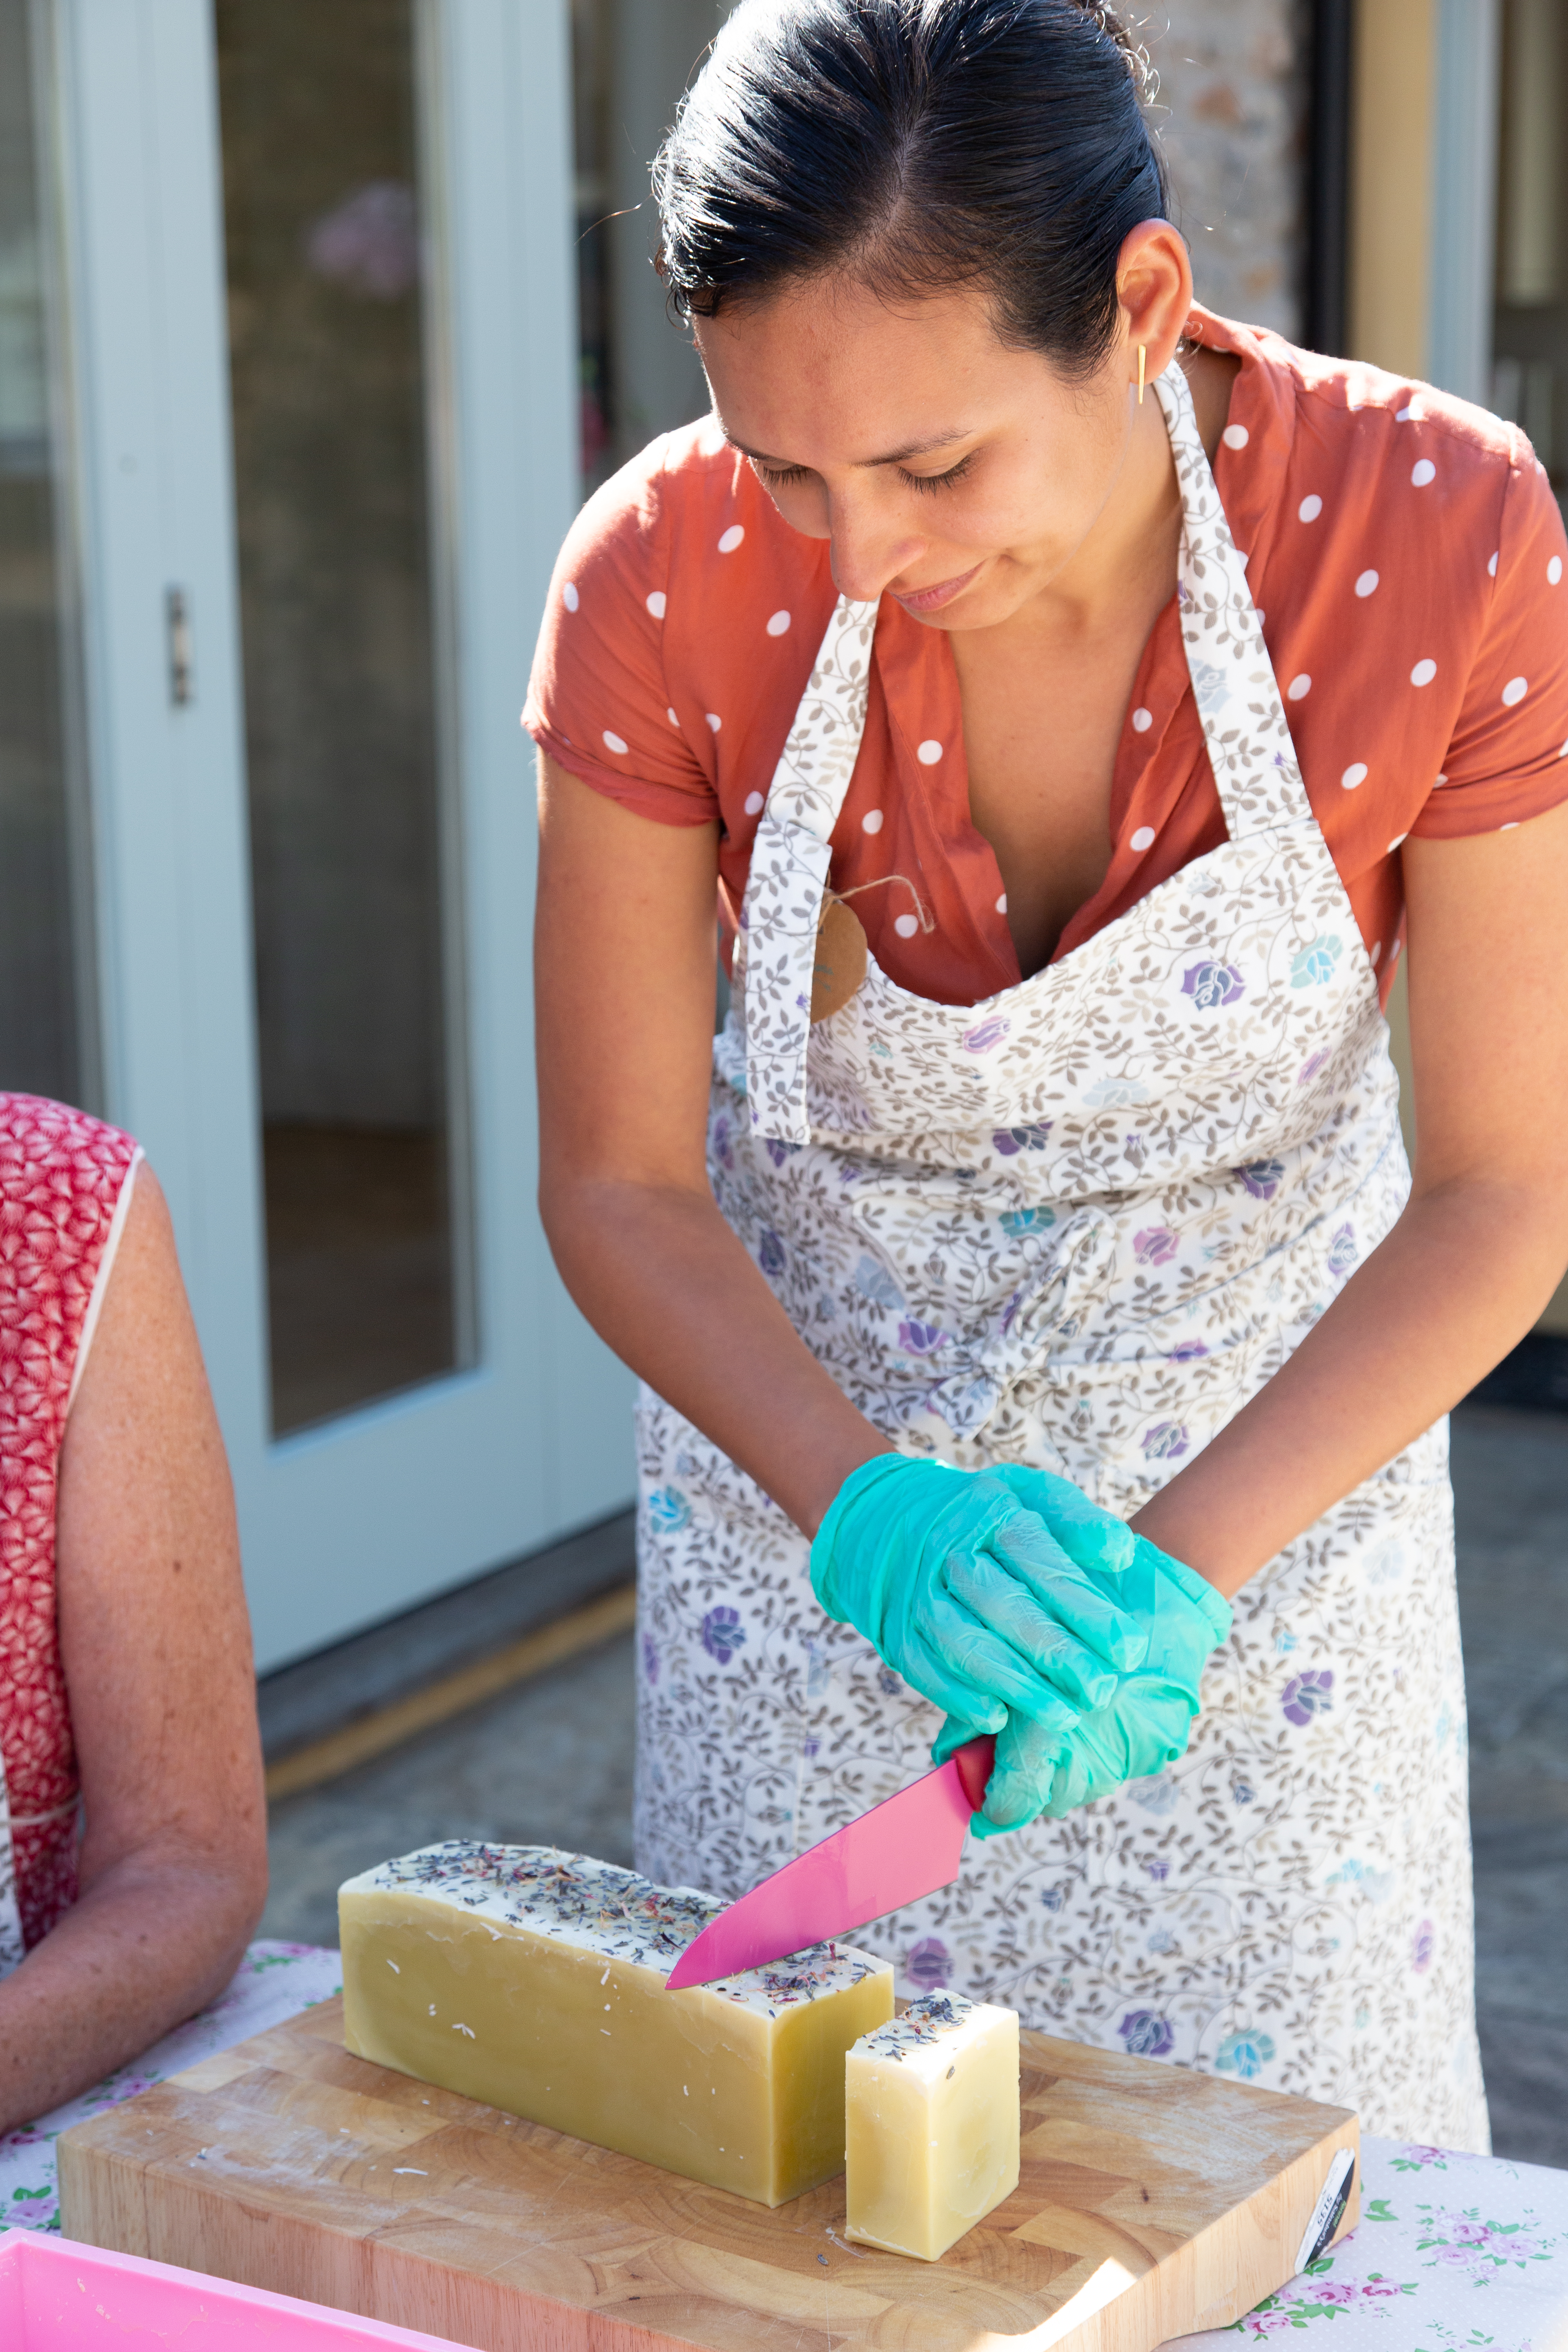
• You can now add in the essential oil** and blend it evenly through the mixture (optional). • Sprinkle calendula petals into the mixture and stir through evenly (optional) (calendula / marigold petals keep their colour when added to the mix, others usually turn brown). • Pour into the loaf tin/ soap moulds. Decorate with dried petals (optional). • Leave for 24 – 48 hours to allow the soap to set before cutting into slices or whatever shapes you want. If you have used silicon moulds pop the soap out. • The soap is now ready to use.
The Science bit – the ingredients go through a chemical process called saponification to turn into soap. The acid (in this case the oils) mix with the sodium hydroxide. This usually takes between 24-48 hours but the hot process method speeds this up by keeping the mix heated and it is not necessary to cure for weeks, it is usually ready to use in 24 hours. During the saponification process glycerol is released from the fatty acids allowing them to combine with the hydroxide ions creating soap. The release of glycerol results in glycerin in the finished soap.
**Essential oils do not usually hold their therapeutic benefits in the soap making process, but they are a natural way to bring a fragrance to the soap. I usually use citrus or lavender essential oils in mine. Click to check out this interview with Robert Tisserand on what happens to essential oils in soap making.
*Recipe adjustments If you want to adjust the recipe or design your own, then I recommend using the online tool: Soap Calc** – this is because each ingredient has it’s own saponification value which means it will need a specific amount of sodium hydroxide in the soap. You can enter your recipe into the tool and it works out for you the correct ratio of ingredients to ensure all the sodium hydroxide is used up during the soap making process. For example if you want to replace the olive oil for apricot oil in the recipe above everything else will need adjusting to make sure the final product is safe for your skin.
Super Fat – if you hear this term, it means there is more fats and oils in the recipe than will be used in the saponification process, which means the final product leaves your skin feeling nourished and moisturised. This recipe has a super fat value, and you should notice that the soap does not dry your skin or leave it feeling stripped.
**Click here to check out this YouTube video on using the tool Soapcalc.
bain-marie or double boiler (this means a separate pan to put the butters in, on top of a pan of water, so that the oils are heated very gently by the steam from the water, rather than directly on the heat).
scales,
stirring spoon or chopstick,
lip balm pot or pots.
Instructions:
measure out the ingredients first,
melt the beeswax and oils in a bain-marie, add the shea butter once everything else is melted together so it doesn’t heat more than necessary.
add the essential oils & stir,
pour into a pot/pots and allow to set.
Secure the lid immediately to capture the volatile essential oils, and check after a while if any moisture collects in the lid, and wipe away with a tissue.
Use:
apply to lips whenever you feel to – useful for moisturising and protecting dry, sore lips, or for keeping them in good condition.
Tip: Dip your finger into the melting pot to test the consistency of the balm, it will cool and solidify very quickly so you can tell what the final product will be like. Add a little more beeswax to make a harder lip balm, and a little more liquid oil for a softer version.


 When I notice his skin is red, then I use chamomile water as it’s particularly anti-inflammatory, so more helpful for this, lavender water would also be suitable. I sometimes just pat the chamomile or lavender water on his skin so it’s more effective. If I’m out and about, I just use a gentle wet wipe, and can spritz the floral water on this for extra nourishment.
 Episiotomy care: I had an episiotomy which made life a bit more uncomfortable for the first few weeks after the birth, it meant I had to be careful keeping the cut clean to avoid infection and as I couldn’t have a bath due to stitches. I used lavender flower water which acts as a gentle antiseptic. After a shower and before bed I would soak a cotton pad in lavender or chamomile water and gently clean the area.
 Skin care: I ended up with several spritzer bottles of lavender, rose, chamomile & neroli flower waters around the house so I would also give my face a spray whenever one was nearby for nourishing my skin and refreshing my senses.


