How to make a Massage or Body Balm

A balm is a great way to use essential oils on the skin, it’s simple to make, easy to apply and feels lovely. It can also be used in a variety of ways, I have included recipes for ‘chest’, ‘pain’, ‘cleansing’ and ‘beauty’  balms below but you can tailor the essential oils in the recipe to suit you personally, (see my webshop for tips on essential oil properties and uses for help choosing).

The following recipe makes a good consistency for general use.  It is fairly soft, so ideal for massaging into the skin on your face and body as a nourishing treatment and as a massage balm to lubricate the skin and nourish during massage.

Recipe for a basic Balm – to make 100g  (for 2 x 50ml pots).

  • 10g Beeswax
  • 10g Shea butter
  • 80g or ml of base oil, e.g. Olive oil or Almond oil
  • Essential oil(s) of your choice (up to 2.5ml, see below for inspirations and how many drops to use)
  • Vitamin E, 5 drops (optional)

About the ingredients:

As well giving the balm it’s consistency, beeswax gives a protective and nourishing feel.  Shea butter gives it a creamy smoothness. And then there are the base oils, I usually use almond, apricot or olive oil, which all give it a lovely nourishing feel, but feel free to substitute with what ever you have handy or to experiment with various types, (see my shop for carrier oil properties & uses for help choosing). Vitamin E is a natural preservative so will help your balm last longer (approx.18 months), I use a soy (GMO free) derived version.

You can buy most of the ingredients from myself, except for the beeswax, which I buy from local bee keepers or honey sellers. I would recommend buying the beeswax in pellet form or sheets, as it’s easier to manage, solid blocks are difficult to break up and get the correct amount.

You can adjust the ingredients to suit you as you wish, if you want it softer (for a cleansing balm*), use less beeswax (5g), and if you want it harder (for a lip balm) then use more beeswax (15-20g).

Equipment

  • Scales
  • Measuring jug
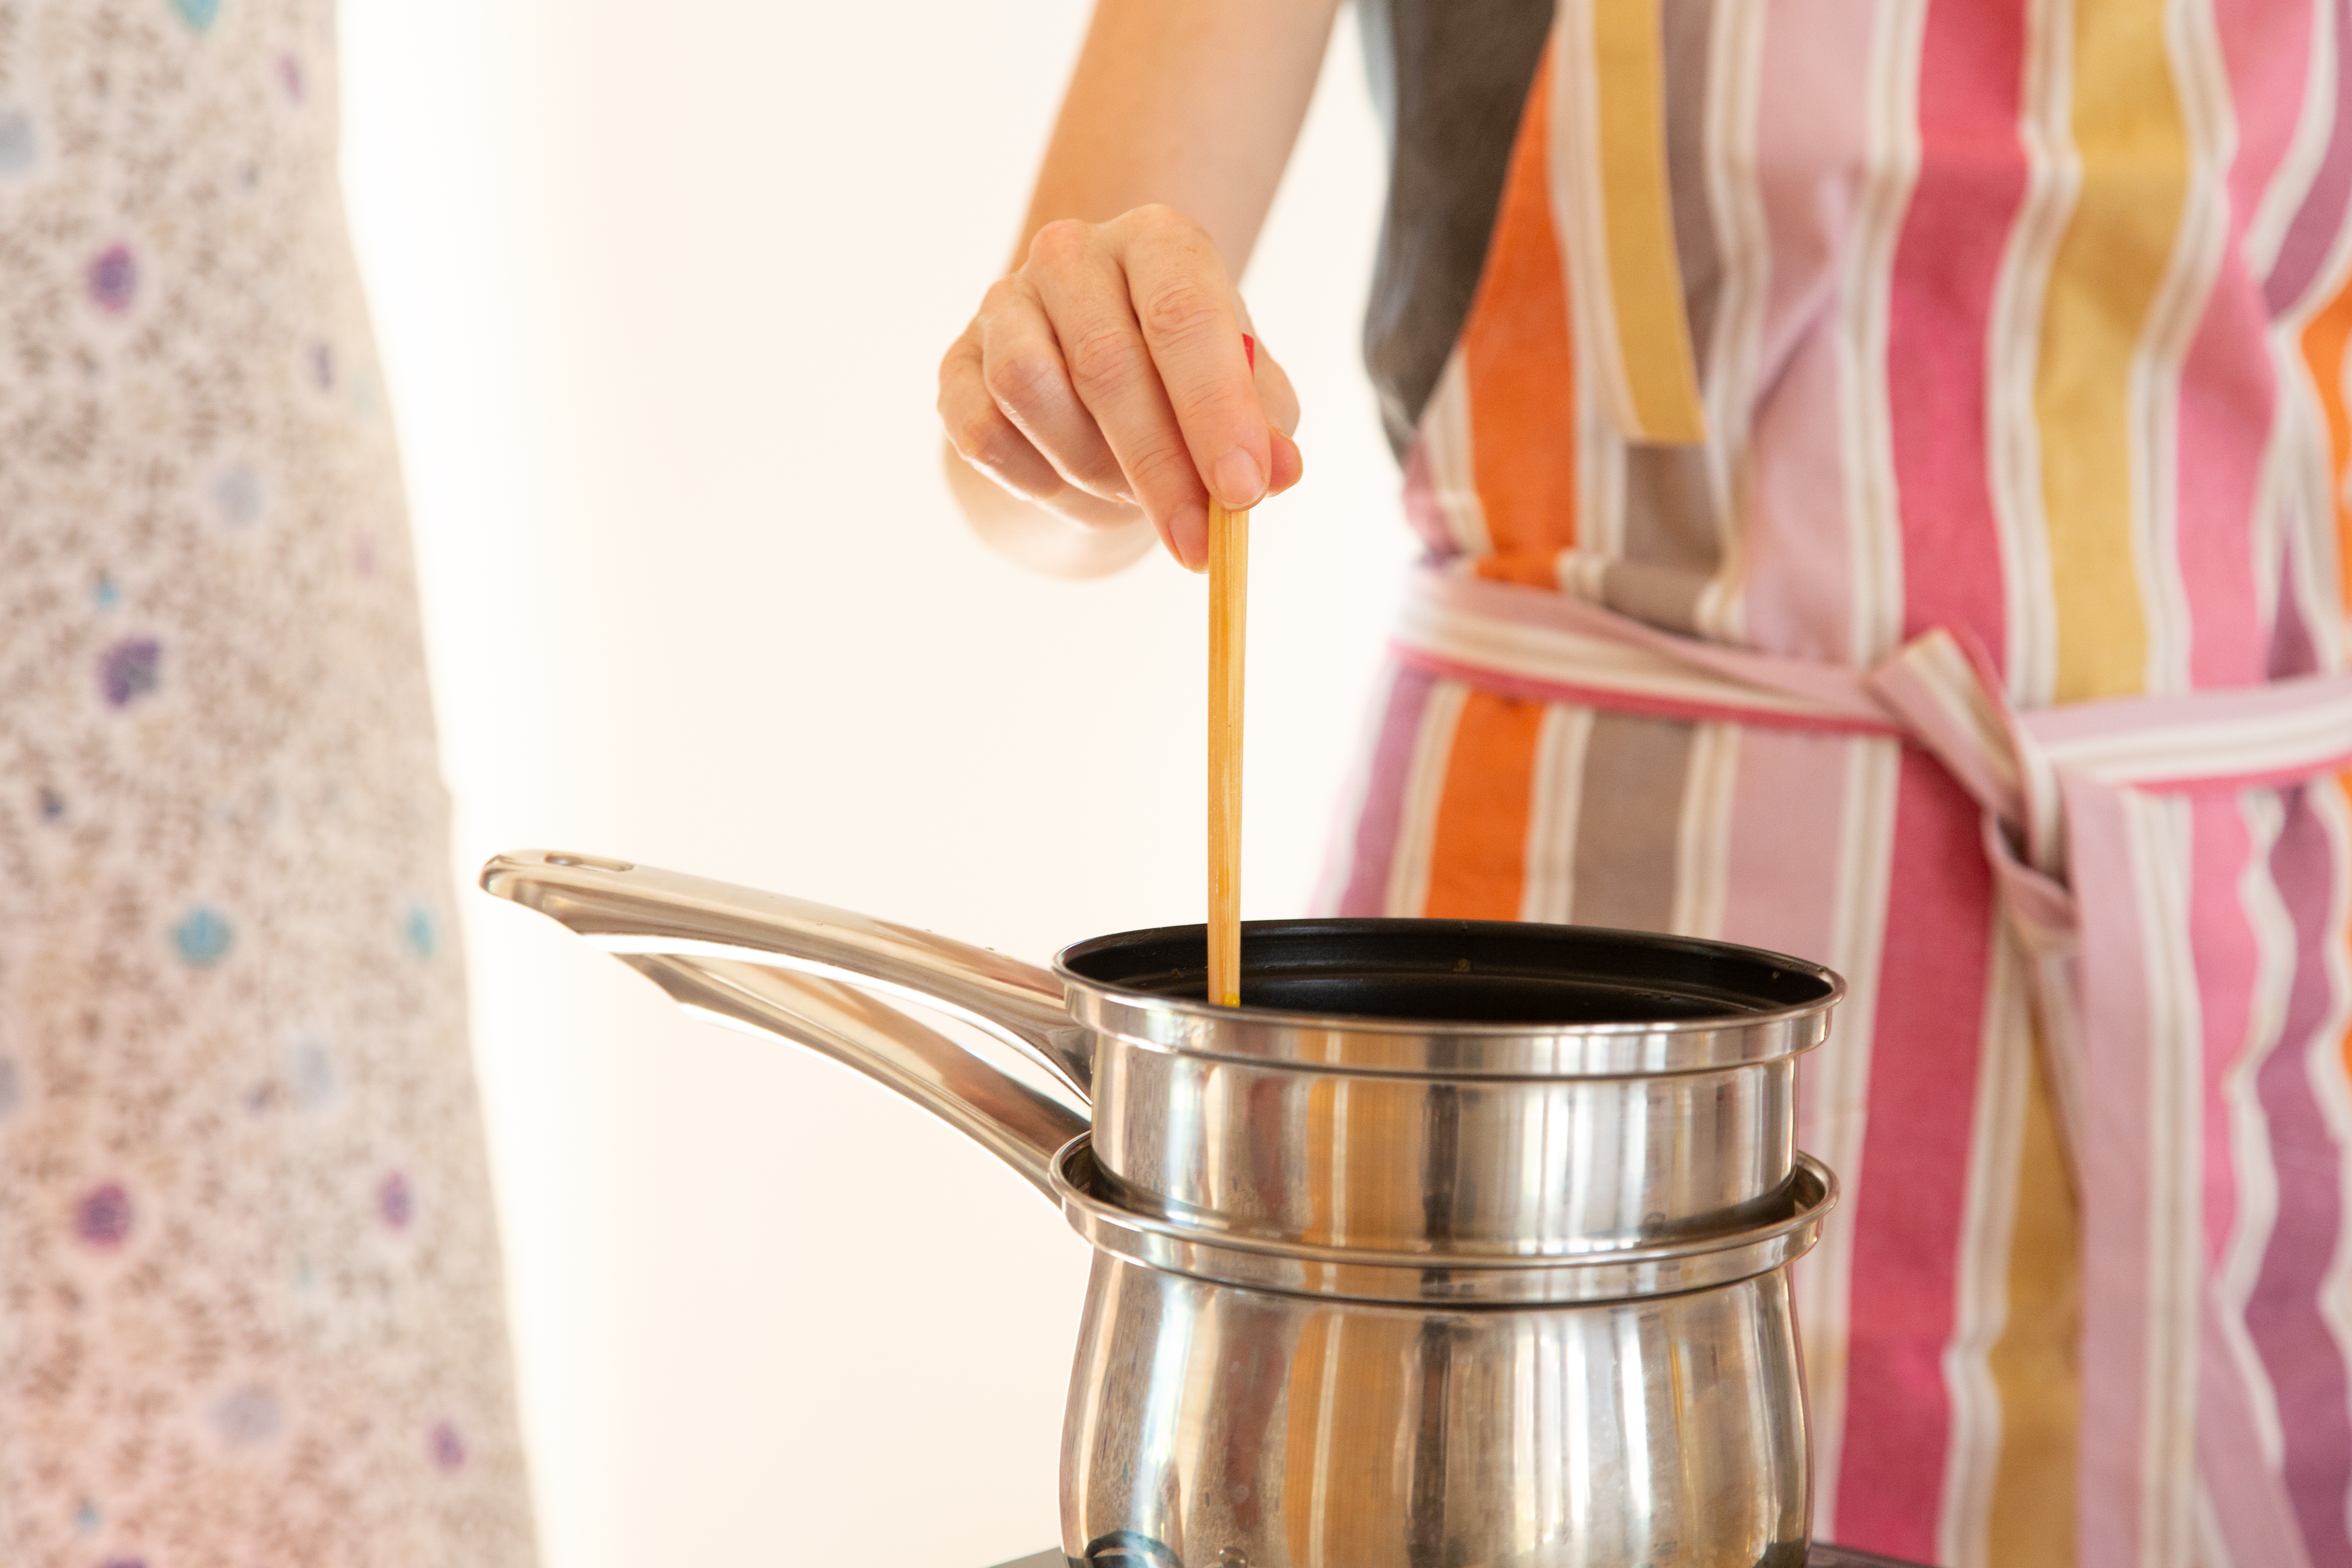
  • Bain marie (a sauce pan for heating water with another pan on top so ingredients are heated gently by the steam to avoid heating ingredients directly).
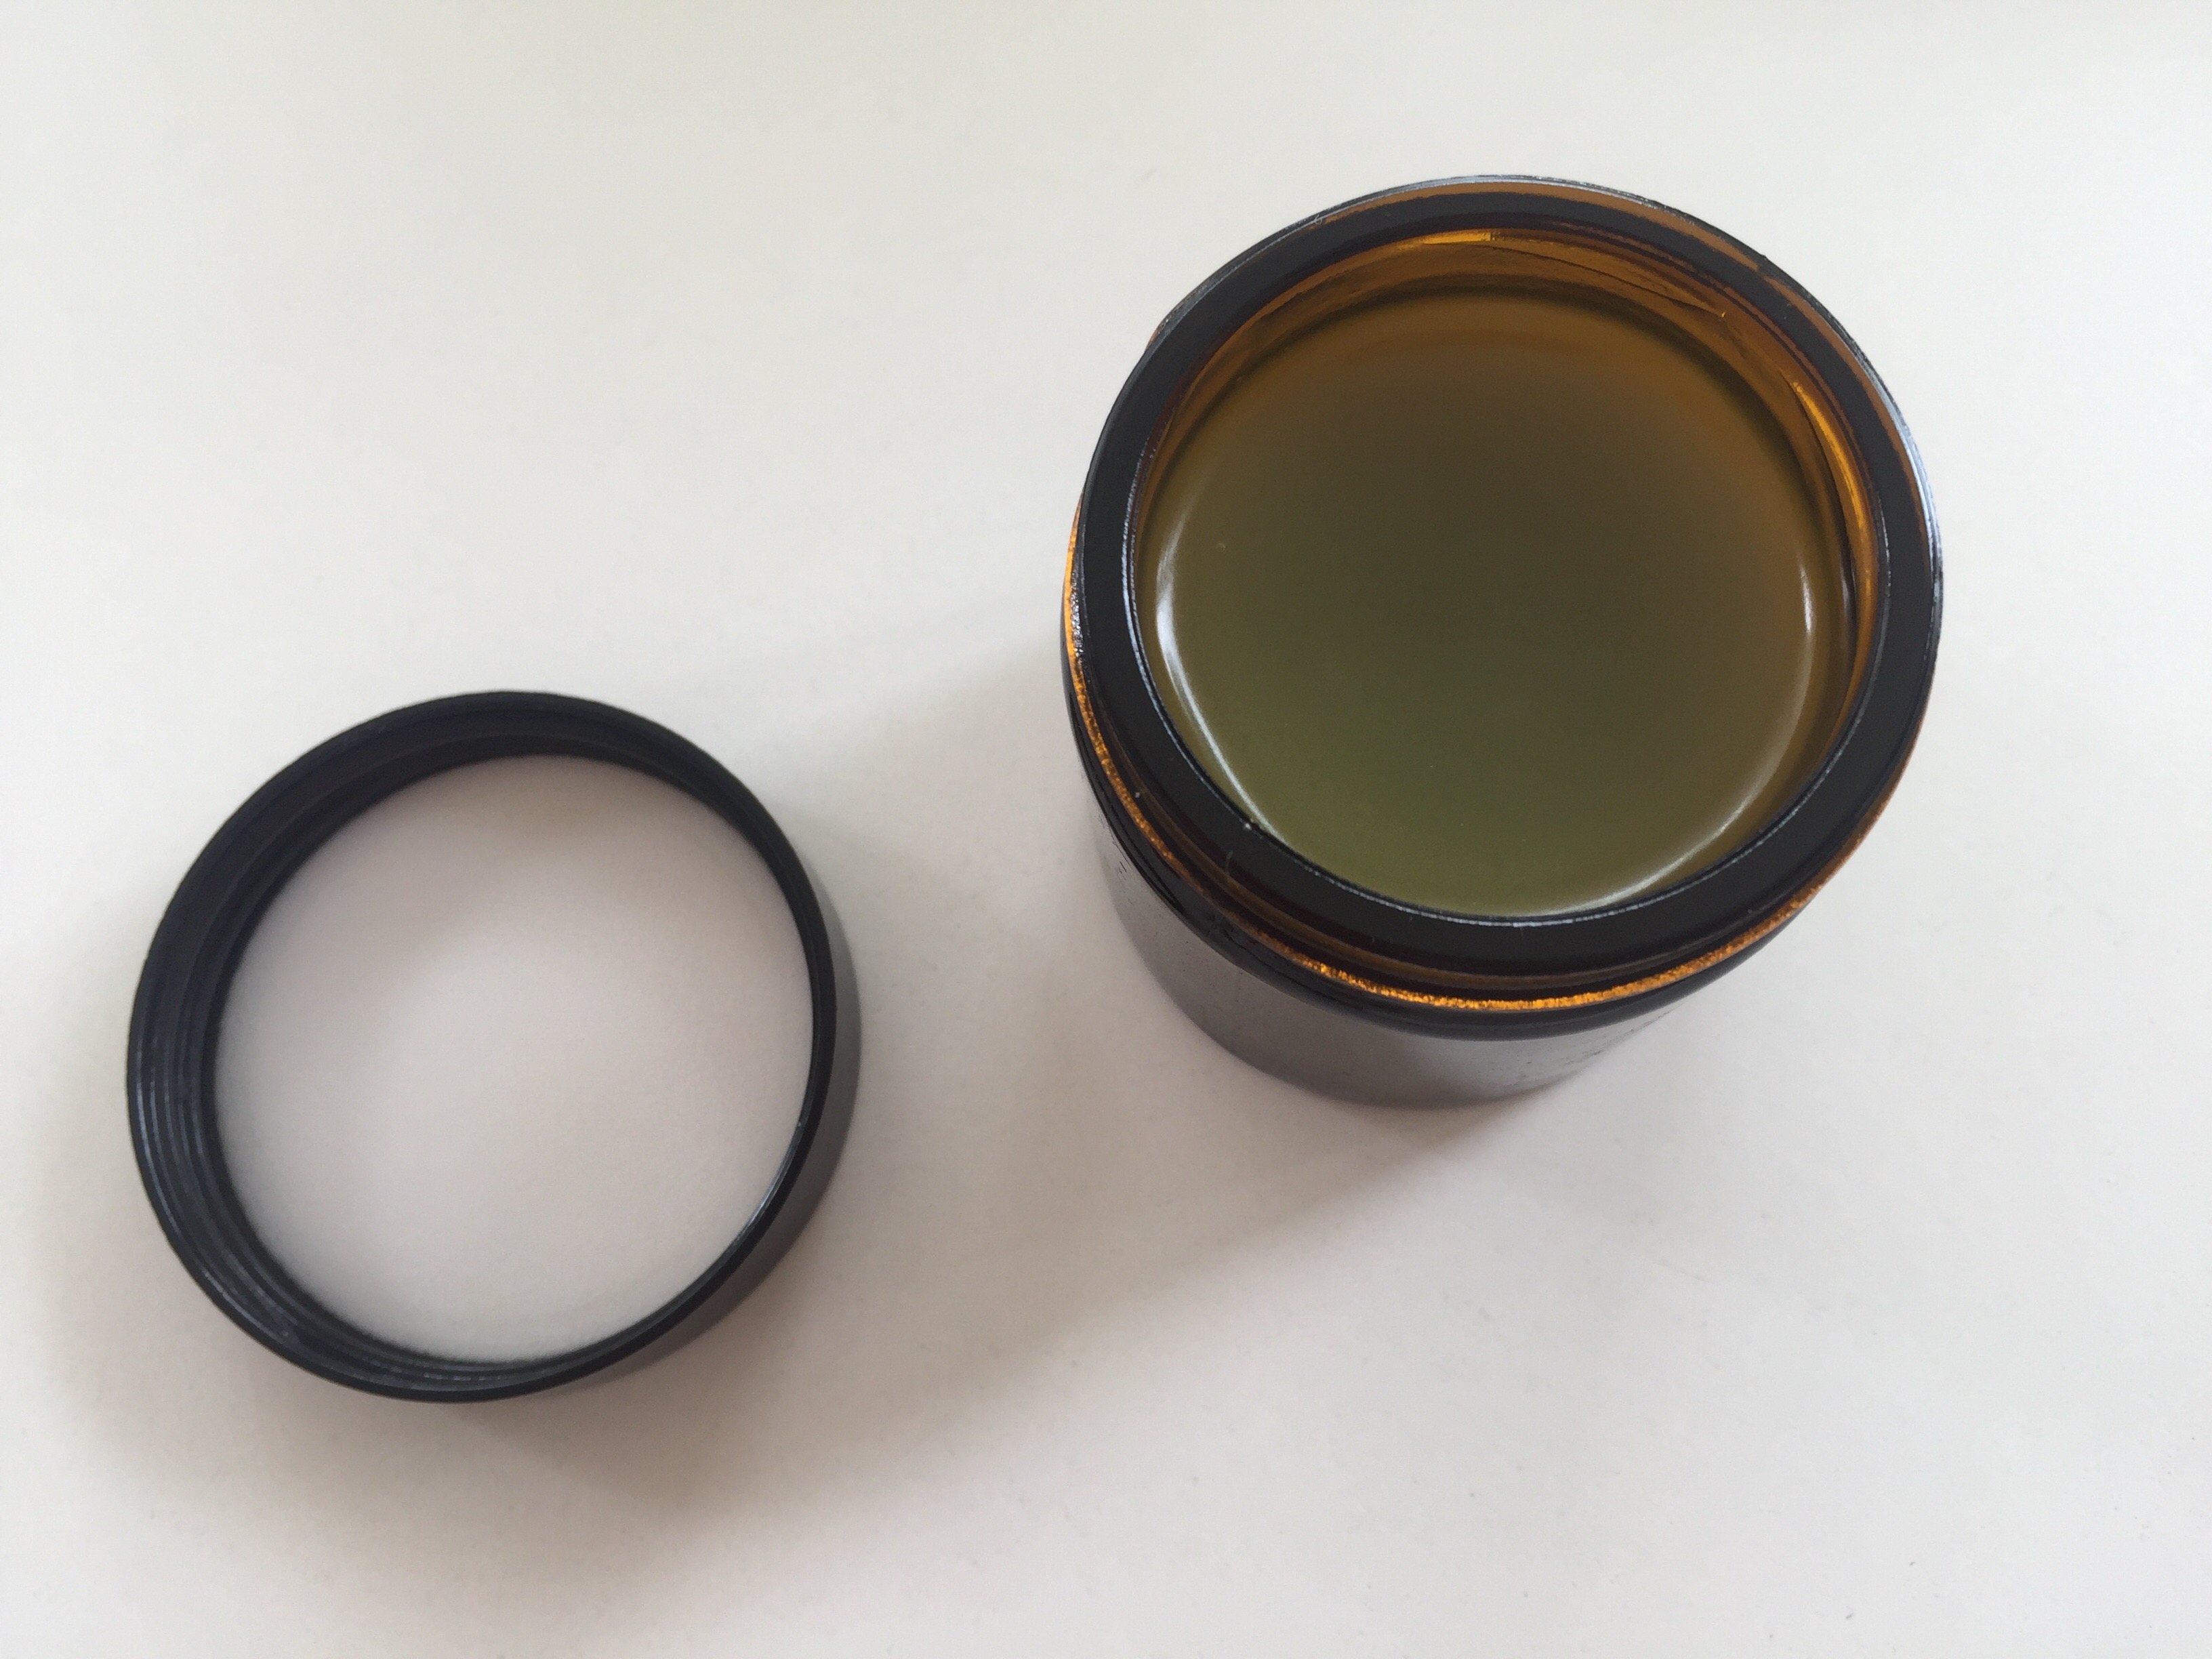
  • Pots (2 x 50ml glass jars)
  • Chopstick for stirring and blending

Instructions

  • Sterilise the pots by putting boiling water in them for a few minutes, then empty and ensure they are completely dry. This is important as the balm can go rancid if mixed with water.
  • Weigh out the beeswax and shea butter using the scale and weigh or measure out the base oil.
  • Use a bain marie to melt the bees wax and shea butter, then add the base oil.  As soon as it’s completely melted remove from the heat.
  • Let it cool a little before adding essential oils and vitamin e, so they are not affected by the heat.  If it begins to solidify give the mixture a stir.
  • Pour the mixture into the containers and leave to cool and set.
  • TIP: I often pour the mix into the jars before adding essential oils, so I can make each pot a different flavour. Decide on which oils  and how many drops to add in advance, as the mix will solidify quickly once in the pots.

Useful Balm Recipes:

Here are some recipes for common uses,  just use the balm recipe above and add the following essential oils.

Chest Balm (to add to the 100ml balm recipe above) this recipe is not suitable in pregnancy, get in touch for a more gentle option.

  • 2.5% blend strength for application to chest to support colds, coughs and chest infections.
  • Thyme – 10 drops (0.5ml)
  • Eucaplyptus – 10 drops (0.5ml)
  • Lavender or Spike Lavender – 10 drops (0.5ml)
  • Myrrh – 20 drops (1ml)

Pain & Inflammation Balm (to add to the 100ml balm recipe above)

  • 2% blend strength for use on specific effected areas.
  • Chamomile (german) – 20 drops (1ml)
  • Lavender or Lavandin – 20 drops (1ml)

Cleansing Balm (to add to the 100ml balm recipe above)

  • 0.5% blend strength for use on the face
  • Lavender – 5 drops (0.25ml)
  • Lemon – 5 drops (0.25ml)

You can use this balm to cleanse your face, remove makeup and grime, just rinse with warm water or a warm cloth afterwards and your skin will be left feeling silky soft.

Beauty Balm (to add to the 100ml balm recipe above)

Use at 2.5% blend strength for stretch marks and scars, and 0.5% to use as a night time nourishing facial treatment.

  • Rose – 10 drops (2.5%) or 2 drops (0.5%)
  • Myrrh- 20 drops (2.5%) or 4 drops (0.5%)
  • Lavender- 20 drops (2.5%) or 4 drops (0.5%)

You can pick as many or as few oils as you like, but just ensure the total blend strength is appropriate (see blend strength charts below).

How much essential oil to use

1% Delicate blend strength (for face, damaged, sensitive skin & children)
Amount of base product No. of drops of essential oil to add
10ml 2
30ml 6
50ml 10
100ml 20
2.5% General blend strength
Amount of base product No. of drops of essential oil to add
10ml 5
30ml 15
50ml 25
100ml 50

*Coconut oil is also useful for a cleansing balm as it’s very greasy and lifts dirt and grime gently from your skin, it’s great to use on its own for removing eye make-up.

How to Use Lavender Essential Oil to Help Sleep Problems

Lavender essential oil is often used to help with sleep problems, it has a very clearing effect in general which is useful as quite often people struggle to sleep because they are stressed, tense or their mind is racing, and lavender can help to clear and ease these symptoms.

There are some great ways to use lavender as part of a wind down routine before bed, to support the body in preparing for a restful night.

  • You could simply use lavender oil in a burner to scent your bedroom before you get into bed;
  • taking a bath with lavender oil in the evening is a great way to really relax your body and let go of any tension held from your day;
  • it can be as simple as sprinkling a few drops of essential oil onto your pillow at night or on a tissue placed under your pillow.

It’s more about the way you do it, rather than what you actually do -so having a bath isn’t going to be better than a drop on your pillow, it’s all about the quality.  The preparation for bedtime before your head hits the pillow, will support the body greatly, compared to an evening of distraction (TV, computer, etc.), and waiting until you feel really tired and then getting into bed and hoping you’ll sleep because you’re so dog tired.

Bringing lavender into your evening rhythm can be much more effective at easing the stress of the day, and a busy mind.  It’s worth experimenting to see how you like to use it:

  • it maybe that you use it in a face cream that you apply in the evening and this is the way you really love to use it,
  • or you might have a lavender bag that you hang by your bed, and you sprinkle a drop on each night so you can enjoy the scent.

It’s important that it is something for you, rather than something you ‘do’ to try and make you sleep ‘better’… if you’re intention becomes about supporting yourself, rather than to fix the sleeping issue, it can be so much more effective, especially in the long term.

Lavender Scented Bedding

The cleansing action of lavender makes it very appropriate to use in washing powder and fabric conditioner.  Just add a few drops (5-10) of lavender essential oil with the fabric conditioner to the washing machine (you can also add it to the washing powder/liquid if you prefer) and your wash will come out smelling heavenly.  It’s such a simple touch but actually brings plenty of health benefits as well as the lovely smell, because lavender essential oil has an anti-microbial action, your lovely smelling bed sheets and clothes will also be fighting off germs as you wear them.

You could also add lavender floral water into the iron rather than just water when ironing bed sheets, this is such a treat when you get into bed and your whole body feels lovely under the sheets. Make sure you don’t use the essential oil in the ironing water, as the oil may leave a stain on your clothes. Floral water has had the essential oil filtered out so it won’t leave any marks.

Make sure you use a good quality essential oil and not just a perfumed synthetic oil.  You can still enjoy benefits and effects from the perfumed smell, but a good quality essential oil will be more beneficial, (a synthetic version will not have anti-bacterial properties) and the natural scent will probably smell much nicer.

Click here to buy Lavender Essential Oil.

For more uses for lavender essential oil see Lavender, Essential First Aid.

How to use Lavender and Chamomile Essential Oils for Hay fever

white lavender
I had a lovely email from a friend last week who was inspired by a previous blog (‘Lavender, Essential First Aid) to use lavender essential oil when suffering symptoms of hay fever.  I asked if I could post it here since it was so timely for me, as I’m sure it will be for others, so thank you Catherine Jones for sharing your experience.
‘I felt to share how lavender oil is helping me right now, as it has taken me by surprise.  I have hay fever, and so have very itchy eyes, an itchy & runny nose, and my face is generally congested and reactive all over. I don’t have any drugs yet, and last night I felt to try dabbing some cool wet cotton wool on my eyes to calm them down. I added a drop or so of lavender oil, and it made such a difference. I used it a few hours ago, pretty much all over my face, but paying attention to the area around my eyes, and across my cheeks, and down the gall bladder lines from nose to chin. It was amazing. I often use lavender in things, but it had never occurred to me that it might ease an allergy. Right now I am not sneezing, nor itching, and I am breathing freely. ‘
Chamomile
Her message inspired me, as I was experiencing similar symptoms at the time, and I have since tried the same technique using roman chamomile essential oil, as it is specifically good for allergies and particulary soothing and calming.  For more details on chamomile essential oil see ‘Soothing Chamomile for Skin Conditions’.

How to Use Chamomile Essential Oil for Soothing Skin Conditions

I had a request to write a blog on skin conditions from a friend recently, and when I began to consider this, I immediately thought of chamomile, so I decided to focus this particular post on using chamomile essential oil to treat a variety of skin conditions, although there are many other oils that are incredibly useful, I will bring focus to them another time.

There are two main types of chamomile essential oil: one is called Roman chamomile (Anthemis nobilis) which is the oil I would recommend here for use with skin conditions, it has a fresh, smooth, appley, summery scent.  The other type is known as German or Blue chamomile (Matricaria recutita) which is more intense, inky blue in colour and incredibly anti-inflammatory.

Skin conditions can be unpleasant, annoying and stressful. I experienced eczema as a child and again more recently as an adult, so I have a good understanding of the issues surrounding this condition.  Many other conditions that affect the skin, for example psoriasis, insect bites, rashes such as those caused by measles and chicken pox, will show the same or similar symptoms, and it is the symptoms that chamomile is particularly appropriate for alleviating.  Chamomile is very soothing and calming on a physical level and really helps with symptoms like itching, inflammation, pain, weeping, redness, irritation.  Chamomile also soothes and calms your disposition. It has a strong anti-inflammatory action and anti-allergic action, so it is ideal for things like bites, spots and rashes. The symptoms themselves in turn cause a feeling of stress and discomfort and general irritation, so chamomile is perfect to help calm and soothe these internal feelings as well as the outside physical ailments.  Chamomile is also very gentle, and does not have any contraindications, so this makes it appropriate for use on delicate skin, that may be damaged or sensitive, and for young children (please note that it must be diluted before skin application).

Top Tip: One very annoying symptom of skin conditions is the itching sensation, and of course the worst thing to do is to scratch, yet scratching seems to be the only thing to bring relief.  Alas, the after effects usually mean your skin is left in a much worse state.  I remember being able to resist the urge to scratch more easily during the day,  but in the night, I wouldn’t really be conscious enough to have control, and I would scratch until I drew blood.  One of my best pieces of advice here is to cut your finger nails down to the absolute minimum which will help minimise damage.  I did consider scratch mitts, but the lack of finger nails really made a difference.

Many skin conditions can leave the skin very dry, so it is important to keep the skin hydrated, hydrated skin will bode better under a scratch attack than dry.  Drink plenty of water to keep the skin hydrated from the inside out.

Treatment & Application: I would recommend applying chamomile essential oil diluted in either a simple cream, lotion or in a plain aloe vera gel, as they are easy to apply, address the hydration issue, and can feel soothing and cooling in themselves when massaged into the affected area.  See my recent blog on ‘Blending Every Day Products with Essential Oils’ for details on mixing and the appropriate number of drops to use when blending yourself, my recipe for making your own natural cream, or see some recommendations for products below.  Make sure you use a base that is very natural and avoid harsh products with nasty chemicals, as they can sting, or cause the skin to react and make it worse.  A cream can be applied to large areas of damaged or affected skin, or just dabbed onto spots or bites.  I would recommend using this for acne when it is very sore, red and inflamed, although treating only the spots first with lavender or tea tree would be more suitable because of their powerful anti microbial and cleansing effects, chamomile would then be ideal to apply afterwards for it’s more soothing gentle action.

An important point to note is that a lot of skin conditions that are not caused by an obvious outside influence (a wasp sting, nettles or allergies) are caused by stress.  Stress is a word that can literally mean anything, so it needs to be looked at on a personal level. Some might experience stress in traffic on their journey to work, or when trying to get the lid off a jar that is really stiff; some may be dealing with a life crisis for example the death of someone close or a relationship breakdown.  What ever the situation is, the body can still be reacting in the same way, and often it can be several months after the upheaval that the skin condition arises.  It may be worth keeping a diary so you can become more aware of your symptoms, and notice what has an effect on them.  Although there may be many things that effect it such as foods, or products that your skin comes into contact with, there is usually an emotional issue which is the root cause.

It wasn’t until I was having a conversation with a friend that I made the emotional connection.  I was struggling to manage eczema at the time and she asked me a question about an uncomfortable subject for me at the time -relating to a difficult relationship.  Whilst I was speaking, she said to me “Do you realise that you started scratching when I asked you about…..”   It was a real ‘ah ha’ moment, and has now become a great marker for me, as whenever I begin to scratch my skin, I know that I must be feeling stressed about something, and having that awareness helps me to question what is going on.  When I notice this, I know I need to be more gentle with myself, and look at what is happening in my life to make me feel stressed or overwhelmed.  I also like to make time to massage a little chamomile cream into the area on my body that is itching.  At the moment, I often get an itch and a little patch of eczema on various parts of my hands, so I have a bottle of chamomile cream by my bed, and massage it into my hands at night, which helps calm and prepare me for sleep too.

Click here to buy Roman Chamomile Essential Oil.

If you are not confident blending your own essential oils into a base of cream or aloe vera gel, or it isn’t convenient, then you can contact me to order a bespoke blend: laura@essesntialoilsandyou.co.uk

More reading on clearing eczema: From Abuse to Love Part 2: Clearing Eczema

How To Use Lavender Essential Oil

I’ve been feeling a bit under the weather just recently, and decided to write this post after realising I had used lavender essential oil three times for supporting myself when feeling unwell in one morning.  When I’m run down, my glands generally start swelling up, I get achy and tired and sometimes a headache.  On this morning I applied some lavender oil to my tender glands on my neck, gargled with a drop of lavender oil, to ease my sore throat, and rubbed a little around the top of my neck that was aching a lot.  Later that day when carelessly getting up off the floor and scratching my knuckle with my own fingernail, I applied a drop to the cut as an anti-septic and to help the pain.  Since it was in an awkward place, I then applied a plaster, but put a drop of lavender oil on the padded section first.

I suspect that I’m renowned by my friends and family for saying “you should put some lavender on that” if I happen to see them with a cut, burn or spot, or if they mention an array of other ailments.  Sometimes they will roll their eyes, but sometimes they will try out my advice, and give me positive feedback, along with a little surprise.

Lavender really is the most useful of all essential oils, for one thing it is generally a very safe essential oil to use on your skin, although in the past it has been thought ok to use neat on your skin* I would use lavender essential oil blended in a base oil for all skin applications (5 drops in 10ml base or 2 drops for children & sensitive skin).

Some of the reasons that lavender is helpful in these situations is because it is antiseptic, pain relieving, anti-inflammatory and helps skin to heal. Here is a list of common minor complaints that lavender can be really handy and effective for.  Please note that for anything more than a minor condition, you should see your doctor or seek further professional advice.

  • Athletes Foot – you can either mix 1 drop of lavender into enough skin cream or lotion to massage into your foot. Do this every day until clear.  Alternatively, make up a batch to use in advance so if you have 100ml of cream/lotion add 250 drops of lavender (this is quite strong so only use it for the athlete’s foot).
  • Burns – Lavender is actually used to treat burns in hospitals so it is perfect for burns. After you have held the burn under cold water for 10 minutes you can apply lavender essential oil mixed in aloe vera gel as this will help to heal the skin and reduce scarring. Do not use lavender blended in a base oil initially as you want to avoid any fatty oils while there is still heat in the area.
  • Cuts, Grazes, Scratches -any little nicks to the skin – apply lavender oil to the affected area, as it has a cleansing action and acts as an antiseptic.  If it needs a plaster, you can put a drop of lavender blend on to the soft part that goes over the wound before applying. You could also spay lavender flower water to the area.
  • Ear Ache – roll a small piece of cotton wool up, apply 1 drop of lavender oil, and place just inside your ear, do not push it deep into the ear, and remember to remove it.
  • Fungal nail infections – apply 1 drop of lavender oil blend to the effected nail, ensure that it also covers the skin just below the nail, as this is where the new nail is growing from, and you want to be treating this part too.
  • Hayfever – Click here.
  • Head Ache – apply a drop of lavender oil blend to the temples and gently massage with your fingertips.  If you feel the ache somewhere specific like around the back of the neck or in the centre of your forehead then I would apply the oil and gently massage this area instead.
  • Insect Bites and Stings – apply 1 drop of lavender blend to the affected area.
  • Sleep problems – Click here.
  • Spots – apply a drop of lavender blend after cleansing morning and evening, do not pick or squeeze, you can use cotton wool pads or buds to apply.
  • Thrush/ Candida Genital – for females, put one drop of lavender essential oil blend on a panty pad and attach to underwear as you would during your cycle.  Change it regularly, applying a drop to each new pad.  I have had some great feedback when suggesting this and it is very simple and non-invasive.
  • Thrush/ Candida Oral  – use an egg cup full of water, add 1 drop of lavender blend to it, and gargle with it in your mouth for as long as possible (at least 2 minutes) but do not swallow.  Do this 2 to 4 times a day.
  • Veruccas – apply 1 drop of lavender oil blend to the effected area once or twice a day, using a cotton wool pad or bud.
  • Warts – apply 1 drop of lavender oil blend to the effected area once or twice a day, using a cotton wool pad or bud.
  • Gargling: You can also gargle with lavender blend for the following conditions: Halitosis, Sore throats, Tonsillitis, Gum disease, Ulcers, when losing your voice, and for general oral hygiene (once or twice a day after brushing your teeth). For details on how to gargle with essential oils see my blog on ‘Gargling with Myrrh’.

Lavender essential oil really is an essential addition to your first aid kit!

Note: Tea tree is very similar in action to lavender, so you can use tea tree in place of lavender for any of the above remedies, however my preference is for lavender as the smell is less medicinal and less aggressive.  I would recommend lavender over tea tree in the case of minor burns.

Caution: There are many types of lavender oil on the market, so please make sure you use a good quality product, from a trusted supplier that is actually pure, undiluted lavender essential oil with the botanical or latin name ‘Lavandula angustifolia’.  Some other types of lavender oil may be either too harsh due to different chemistry, or may just be a lavender scented product made from synthetic chemicals, which would not have the healing benefits and may irritate the area instead. Click here to purchase lavender essential oil.

*Click here to read my blog on why you should NOT use Lavender Essential Oil neat on your skin.

How to Use Essential Oils in the Bath

Using essential oils in the bath can be a deeply relaxing and nurturing experience.  One important point to be aware of is that essential oils must be diluted before you add them. This is because they are very potent and can irritate the skin in their undiluted form.  I have heard many stories from clients who have sprinkled drops of essential oil straight into the bath and experienced anything from tingling sensations to nasty skin reactions and even left unable to use that particular oil again, due to developing sensitivity.  Even though you may be adding the drops of essential oil to an entire bath full of water, the drops do not actually mix with water (because they are hydrophobic), and will stay in droplets on the surface of the water, clinging to your skin as you enter, which is just like putting undiluted essential oil onto your skin.

To dilute the oil you must mix it with a carrier oil (a fatty oil pressed from a nut, kernel, seed or fruit, for example almond, apricot, sunflower or olive). A tea spoon of olive oil would work just fine (Click here for more carrier oil options).  To make it easier to prepare I often pour a tea spoon of olive oil into an egg cup add and then add the essential oils to this.  I would suggest adding between 3 and 6 drops of essential oil depending on the oils you use and how strong you want the scent/blend.  To start with, you could use 4 drops of lavender.  You can use more than one essential oil, but keep the total number of drops used between 3 and 6.  So you may like to mix 2 drops of Orange with your 2 drops of Lavender and perhaps a drop of Black Pepper (so 5 in total).  This would make a relaxing, warming bath blend, great for aches and pains at the end of the day. Give the mixture a little stir so the essential oils are evenly blended in the olive oil.

Now that your blend is ready – WAIT! – wait until the bath is run, the temperature is appropriate for you and everything else is prepared, towels warmed, candles lit etc. (how ever you like to set the scene).  Just before you’re ready to step in, pour the oil blend into the bath and give it a little swoosh to help it disperse, then step in, lay back and enjoy.  Adding them at this moment ensures you enjoy all the wonderful benefits of the oil especially the scent.  If you were to add them as you start running the water (as I would with bath bubbles) the heat and steam created would evaporate a lot of the essential oils and by the time you lay in the water there would be little left to appreciate.  After bathing notice how nourished your skin feels, just a tea spoon of oil manages to envelope your whole body leaving it soft and smooth.

CAUTION: Be careful not to slip as you step out of the bath, as the olive oil can make it a little slippery.

Simple Bath Blend Recipe:

  • 1 tea-spoon Olive Oil,
  • 3-6 drops of Essential Oil, eg. 3 drops Lavender, 2 drops Orange, 1 drop Black pepper.
  • Mix together and pour into the bath just before entering.

For more tips on how to make a bath & massage oil blend click here.

To buy essential oils for your bath click here.